One of my Christmas projects was to build these plywood cars for the nephews. The plans came from one of the first Woodsmith magazines ever printed, but are still good. One warning up front: to do this, you really need a drill press or some other way of drilling a steady, level hole. I built one of these with a hand drill, and four with a drill press, and there's no comparison. Pick a cheap one up on Craigslist if you have to, but it will turn out a lot better!
Since this is from a magazine, no dimensions are included and instructions are a bit limited. If you need more information, you can always message me or just search eBay or Amazon for a back issue of the magazine.
Start by sizing your pieces. The bodies of the cars are each glued up from two rectangles of 1/2" plywood and the cockpit section is a single rectangle. Pictured below are the bodies and cockpits of four cars.
Next, slice your axles and spoiler struts free from a 1/4" dowel. You can see in the picture below that I used my miter gauge and a stop block clamped to the rip fence just in front of the blade to make these cuts without trapping the cutoff piece between the blade and the fence.
Cut four axles and two struts for each car.
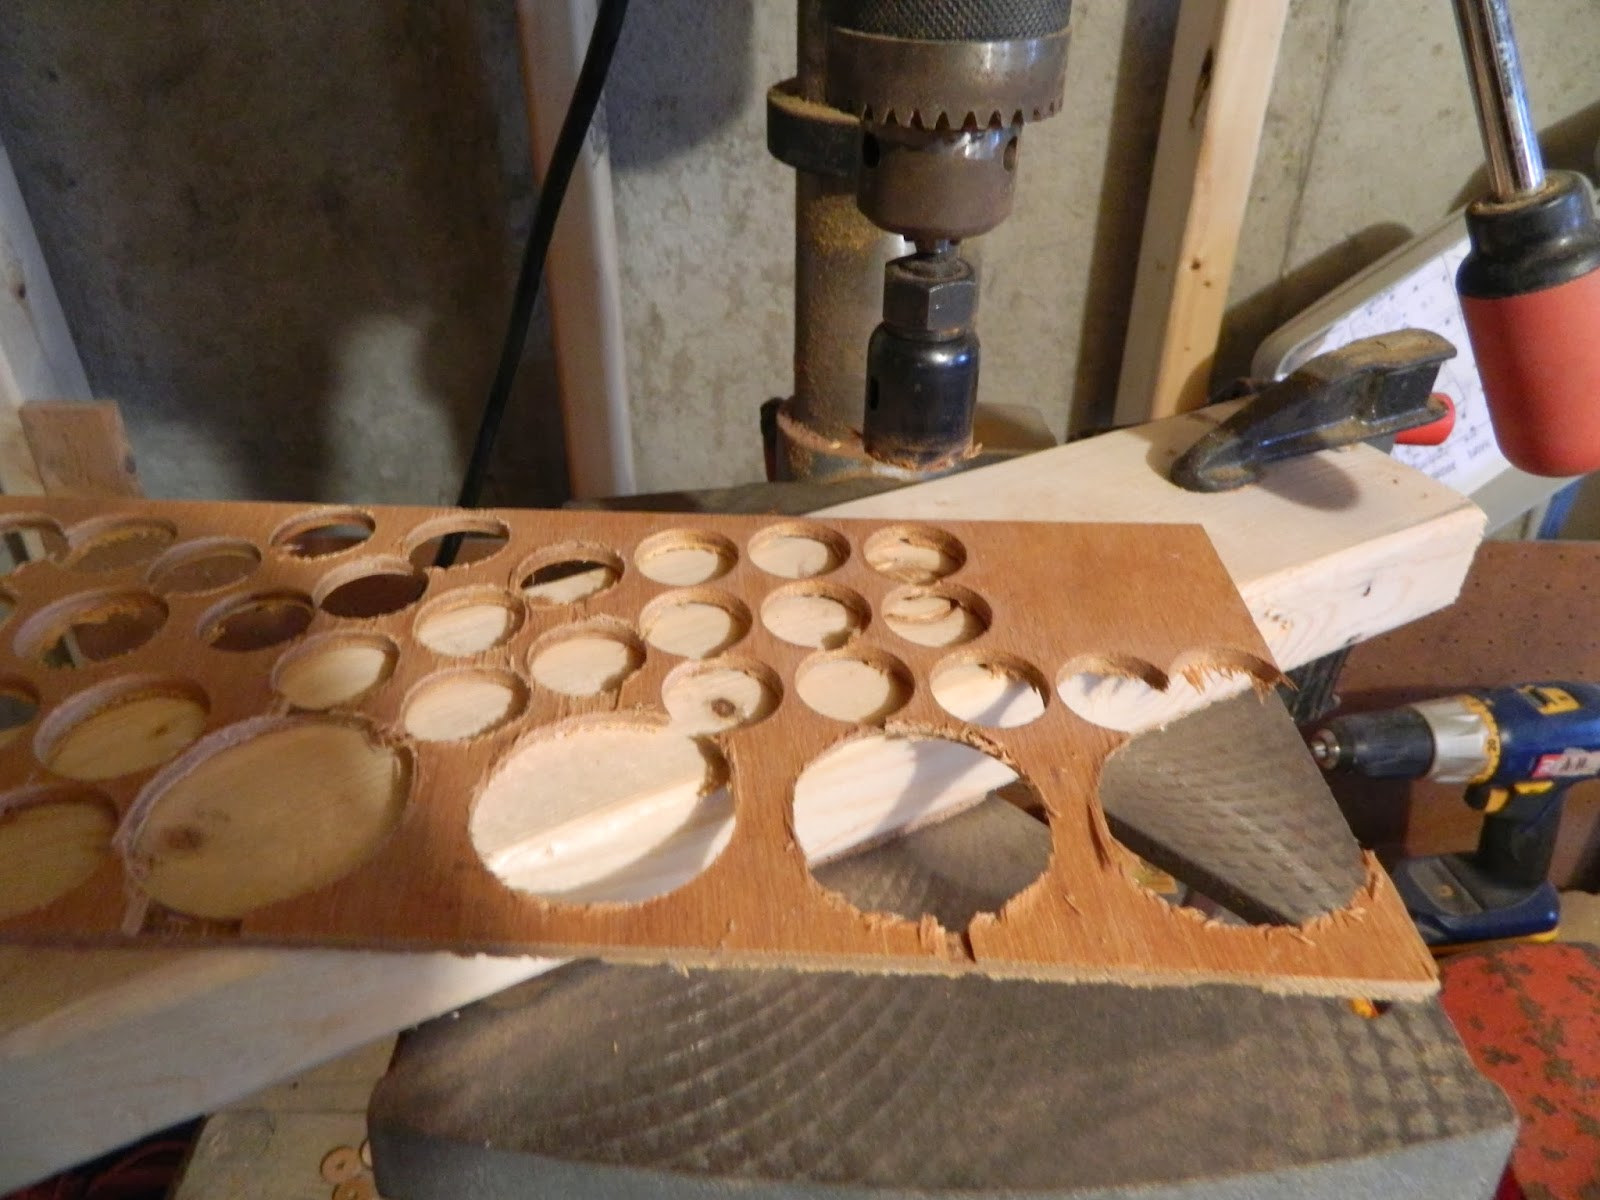
Finally, use a pair of hole saws and your aforementioned drill press to cut out the wheels and hubs of your cars. The wheels should be cut from 3/4" plywood using a 2" hole saw, and the hubcaps should be cut from 1/4" plywood using a 1" hole saw. Great chance to use up some oddly shaped scrap pieces.
With your parts all cut out, it's time to do some assembly. Start by gluing the two body blanks together.
Clamp these and set them aside to dry.
Next, glue your hubcaps to your axles. When the axle is glued to the body, the wheels will be trapped between the hubcaps and the side of the car, but still able to turn freely. Make sure to size your axles long enough to go through the hubcaps, wheels, and solidly into the body while leaving a little bit of clearance for the wheels to turn.
I found it easiest to dip the end of the axle in the glue and tap it into the hubcap using a small mallet.
While you wait for the glue to dry, do a little bit of touchup to the wheels to make sure that they will spin freely and run true. First, use a clamp or handscrew to hold the wheel in position while you drill out the center hole to be 1/16 or 1/8" larger than your axle dowel (so for a 1/4" axle, use a 5/8" or 9/16" drill bit). The goal is to expand the hole that your hole saw drilled in the center so that your wheel will spin freely on the dowel. DON'T try to hold the wheel in place with your fingers while you drill out this hole: if you lose your grip, your fingers can friction burn.
Once you've done this to all the wheels, turn the drill press off and gently twist the wheel back onto the drill press, as pictured below.
Turn the drill press on and use a sanding block to true up the edge of the wheel and put a slight chamfer on the corners.
When your wheels have all been sanded and the glue is dry on the vehicle bodies, set up your drill press to make the axle holes. If you're using regular twist bits, make a dimple with a nail where you want the hole to be so that the bit doesn't wander. Use a 1/4" bit so that your axles fit tightly in the hole. The front axle should be further from the front edge of the car than the rear axle is from the back edge of the car.
It's crucial that all of these hole be exactly even and level, so I knocked together a quick holder out of 2x4 scraps.
Slot the car body into the space between the blocks and position it so that the drill bit is directly over the spot where the axle hole is going. Clamp the guide to the drill press table and drill all of the front axle holes, then readjust the position of the guide and drill the rear axle holes.
You're getting close to the glue-up stage! Only a few more steps left. You should now be able to assemble some of the pieces and get an idea of what your car will look like.
A few more moments on the drill press. Using a square to position the edges, I drilled some very shallow holes in the top corners of my car for my spoiler struts.
This is the first place where I would do it differently: the general idea is to slice the spoiler struts free from the front edge of the car, creating the spoiler and giving the car the racing front end. However, I didn't like how small and flimsy the spoiler piece felt. If the car body was thicker (say, made from a 2x4), then it might work better. If I was doing this again in plywood, I would probably just cut the spoilers from a different piece of wood. That would also allow me to drill a deeper hole for the strut, making the spoilers more stable.
If you do cut the spoilers from the plywood body of the car, make sure not to drill your front holes too deeply or they will go right through. If you cut them from another piece of wood, you can add a little depth to the hole to make it more secure.
No picture, but now that the holes are all drilled you can glue the rectangular cockpit blank to the top of the body.
Go back to the table saw now and slightly bevel the sides of the body, starting the bevel just above the level of the axle hole.
Using a tall fence, slice the spoiler free (if applicable) and angle the front edge of the car. Notice that the front edge doesn't come to a point - start the bevel a little above the bottom of the car blank. Depending on your angle and the size of your saw blade, you may need to finish the cut with a hand saw. BE CAREFUL with this cut: there is a lot of blade exposed and nowhere for your hands to grab the plywood. Use push blocks.
Now step back and enjoy your work! From left to right, these go from a stack of materials to a fully assembled vehicle.
As a final optional step before finishing or gluing, use a Forstner bit to drill a shallow hole in the top of the cockpit to hold a half-round knob. That knob will be painted for the driver's helmet. The Forstner bit will leave a flat-bottomed hole: if you don't have one, you might be able to use an ordinary spade bit, just be careful not to drill all the way through the body.
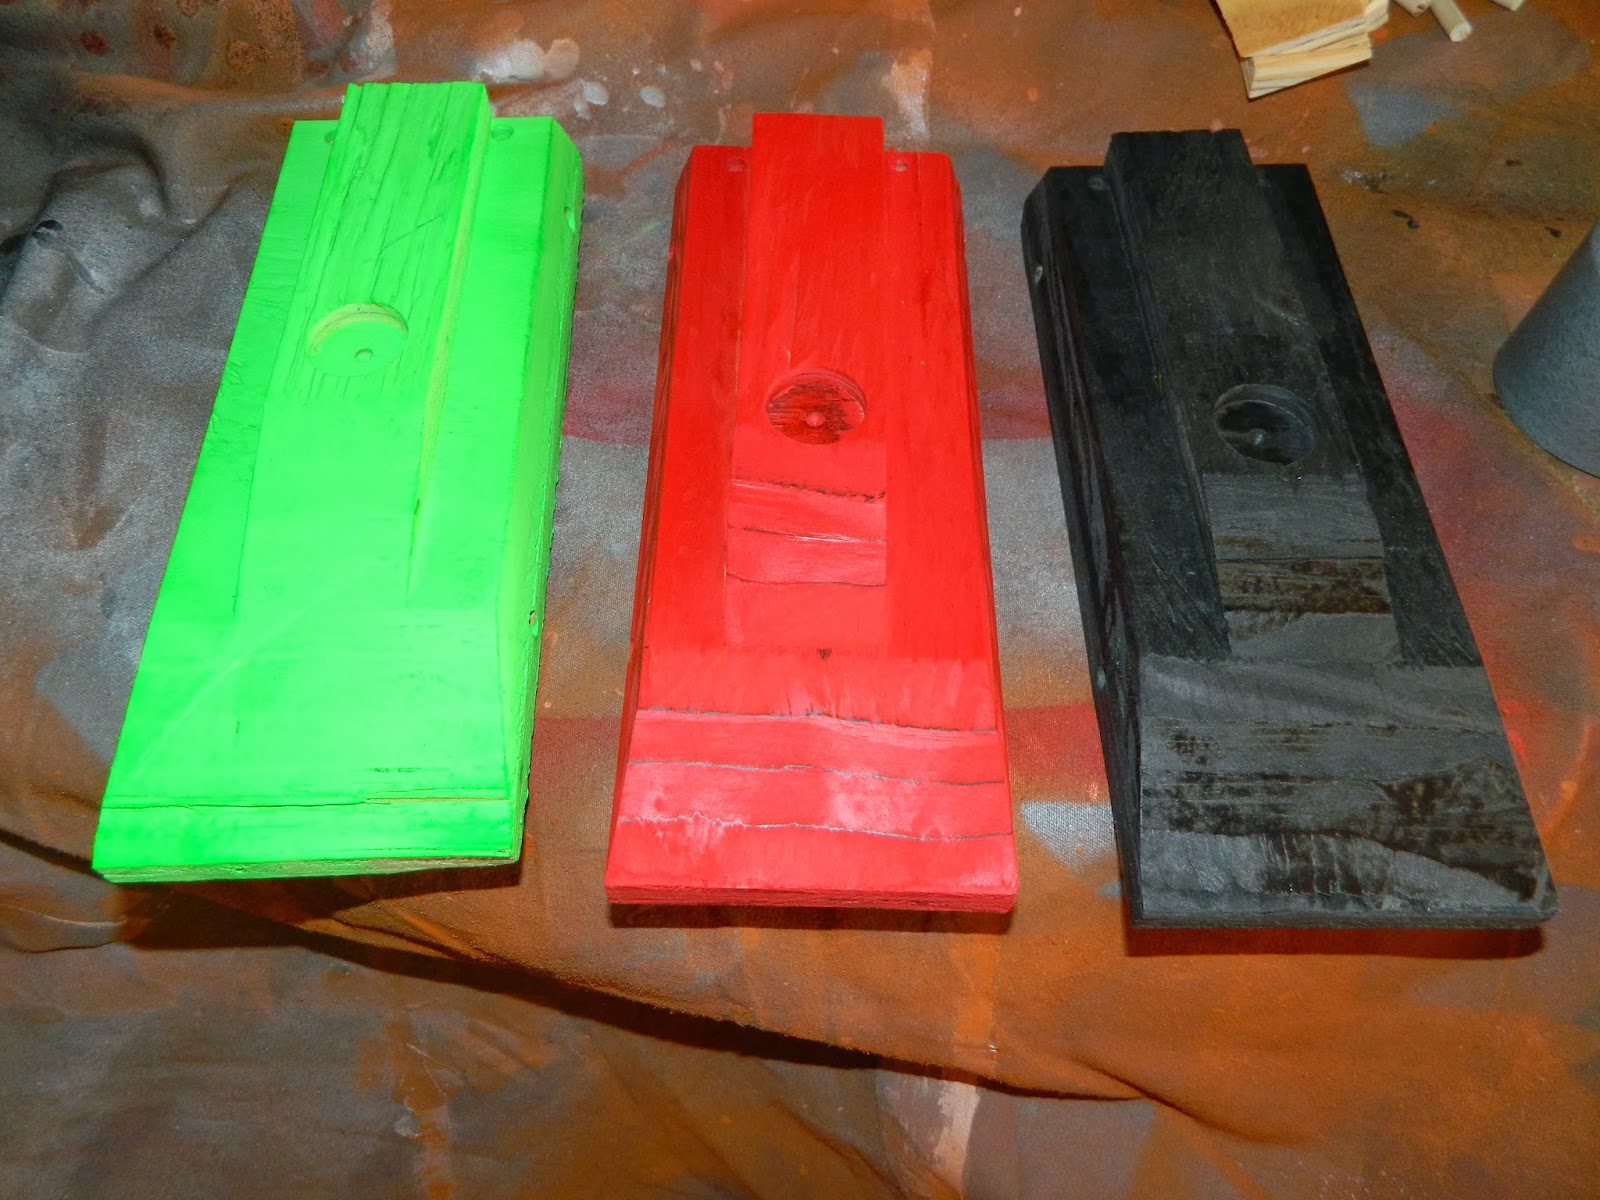
At this point, you could glue everything up and have a perfectly nice wooden toy. Since our nephews share toy bins, though, we wanted to make each car a little different from the others, so we decided to paint the cars. Using a variety of spray paint cans left over from other projects (with a couple new ones), we painted the wheels black, the axles and hubcaps silver, and the bodies different colors. We thought about painting the helmets to match the car bodies, but in the end just went with silver.
Now that you've got spray paint everywhere, you might have to ream out the holes in the center of the wheel so that they spin freely on the newly-painted axles. No, this is not a Ryobi product promotion: that just happens to be my drill.
Put the wheels on the axles, then glue the axle ends into the body of the car. Careful not to get glue on the wheel: the last thing you want is to accidentally attach it to either the axle or the car!
Full disclaimer: this is my major mistake. The original plans used wood glue throughout, and when we were done painting I brought the cars right back to my workbench and picked up my bottle of wood glue again. I feel like this glue didn't bond well at all with the painted wood, and in retrospect I would definitely use superglue or something else. These toys were given as gifts meant to be used, and I'm almost afraid to ask if they've needed re-gluing. So, if you paint your cars - use some superglue or something else meant for painted surfaces.
Glue the spoiler struts into the body, then into the spoilers.
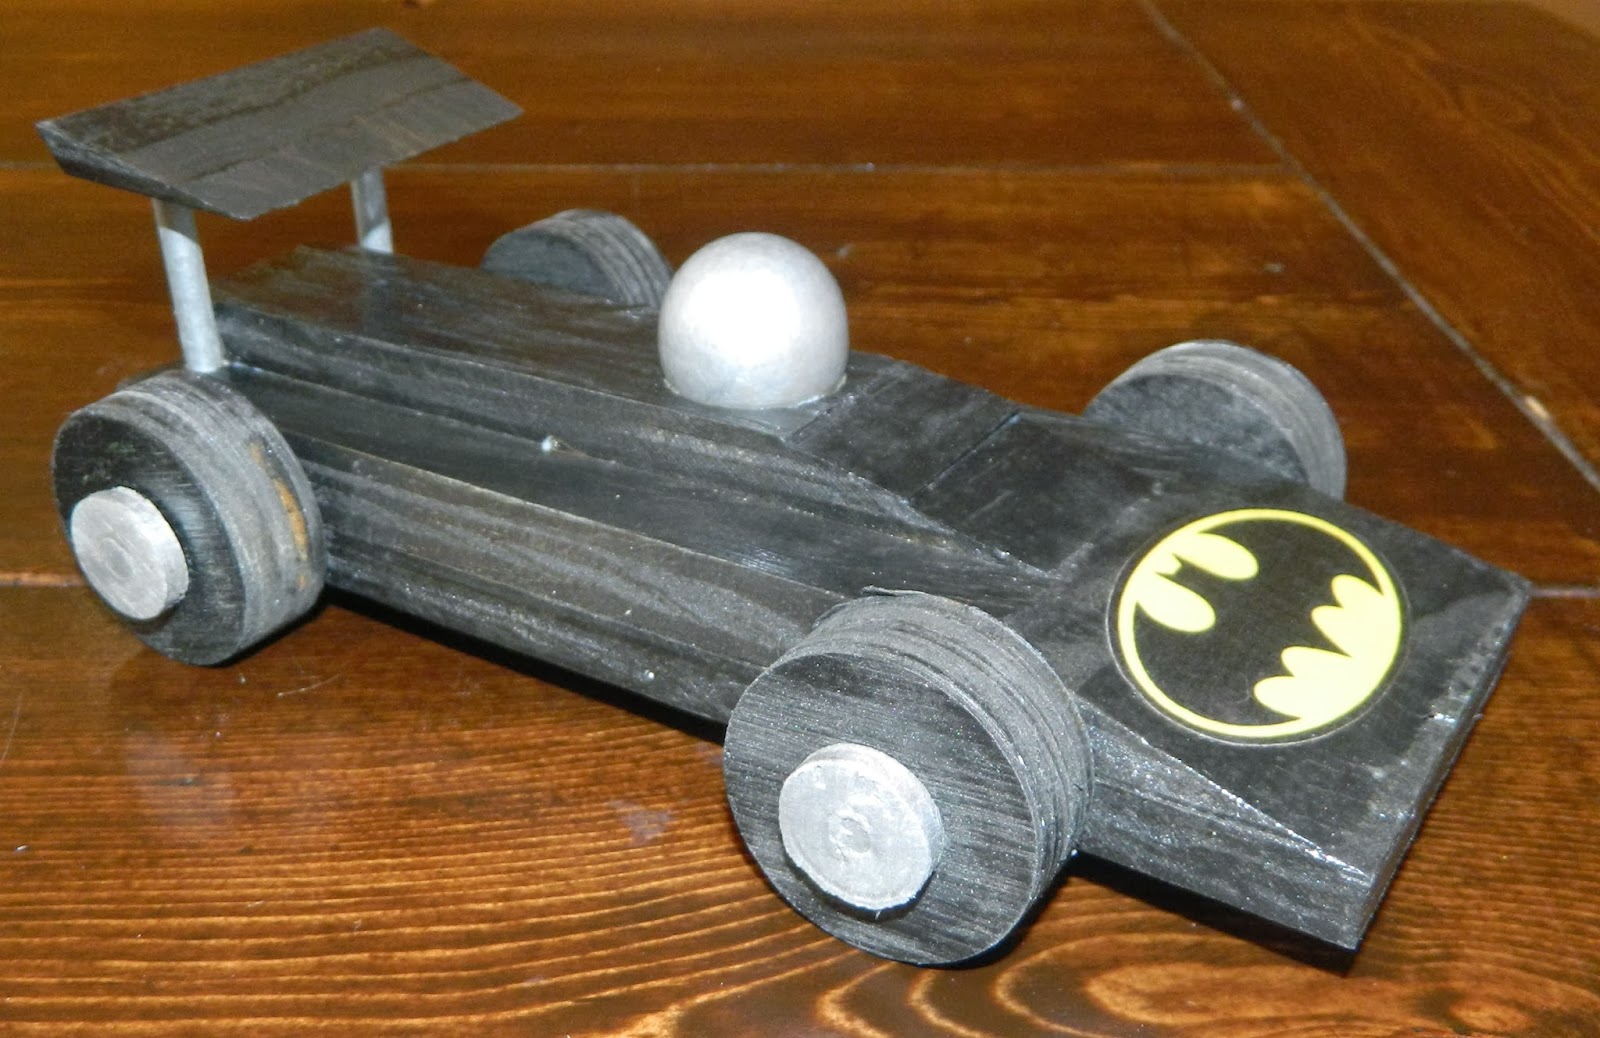
All the cars were assembled, and the drivers glued in.
I used Google image search to find and then print some photos and decals for the cars, which Samantha shellacked onto them through some arcane and mystical means far beyond my understanding. Each boy got a different superhero theme (if turtles with swords are superheroes: frankly, I'm not sure they count).
They were a big hit for Christmas, though like I said I'm a little worried about how well the wood glue will hold up long-term. Overall, I really liked this project!!!
Three things I would consider changing if I did it again:
1) Cut the spoiler from a different piece of wood, so that I could make the holes for the struts deeper and more secure.
2) Use superglue to fasten the painted pieces together, rather than just wood glue.
3) Possibly use a 2x4 or other scrap piece of wood for the bodies, rather than gluing up plywood pieces.
Materials Needed:
1/2" Plywood (or just 2x scrap).
1/4" Plywood (for the hubcaps)
3/4" Plywood (for the wheels)
1/4" dowels (for the axles and spoiler struts - alternatively, you could use 3/16" dowel for the struts)
Glue
Tools Needed:
Table Saw
Drill Press
Hole saws (2" & 1")
Drill