


This was the way the room looked before: a little inset section and a weird little hutch thing. We weren't terribly in love with the hutch, since it was extremely shallow and not much use for storing anything but paper towels.

First step was the fun part: pulling off the hutch.

Once it was off, I had to sand down and patch up the wall behind the unit (I may or may not have broken a hole in the wall while prying off the boards). There were a few sections that needed help already, so no big deal.

Stud wall came next! Since I was trying to extend an existing wall on the right, I set the front of the stud exactly 1/2" behind the front of the wall, to allow room for sheetrock. I bought the doors ahead of time, and subtracted the width of the doors and the width of the facing trim from the total width of the closet to determine how wide to make the wall on the left.

The header was fun to build: start by screwing a top plate to the roof, then construct the actual header and rest it on the top of the 2x4s on the side. Then you can cut the spacers to go between the header and the top plate.

Here's how to build the header: cut two 2x4s to the right length, then screw them together with a series of 1/2" plywood spacers in between. The width of a 2x4 is actually 1 1/2", so two of them plus 1/2" plywood equals the true width (3 1/2") of a 2x4.
Stand the header on edge, and attach it to the bracing studs.

I cut Sheetrock panels to fit over my new walls, and screwed them in place.

Cue my least favorite part! The screw holes and all the joints needed to be mudded and taped (is that how you pluralize mud?) and smoothed until they are indistinguishable from the area around them. I learned three very important things during this phase:
- No matter how much money you'd save, don't use the leftover mudding compound from the previous owner.
- If you get the tape wet (dip into a bucket or run under a faucet) before you apply it, you virtually eliminate bubbles.
- I hate mud.

At this stage, the project expanded to take on the whole room. Since we had to paint over the new walls, we might as well paint all the walls. Since we had to paint the walls, we might as well paint the baseboards. Since we were painting the baseboards, we might as well replace the trim ... and so on.

When it was all painted up, I installed trim around the closet.

I needed facing boards for the top and sides, a board to conceal the hardware for opening the closet doors. Then I added regular trim around the outside. The inside trim was just white-painted boards.

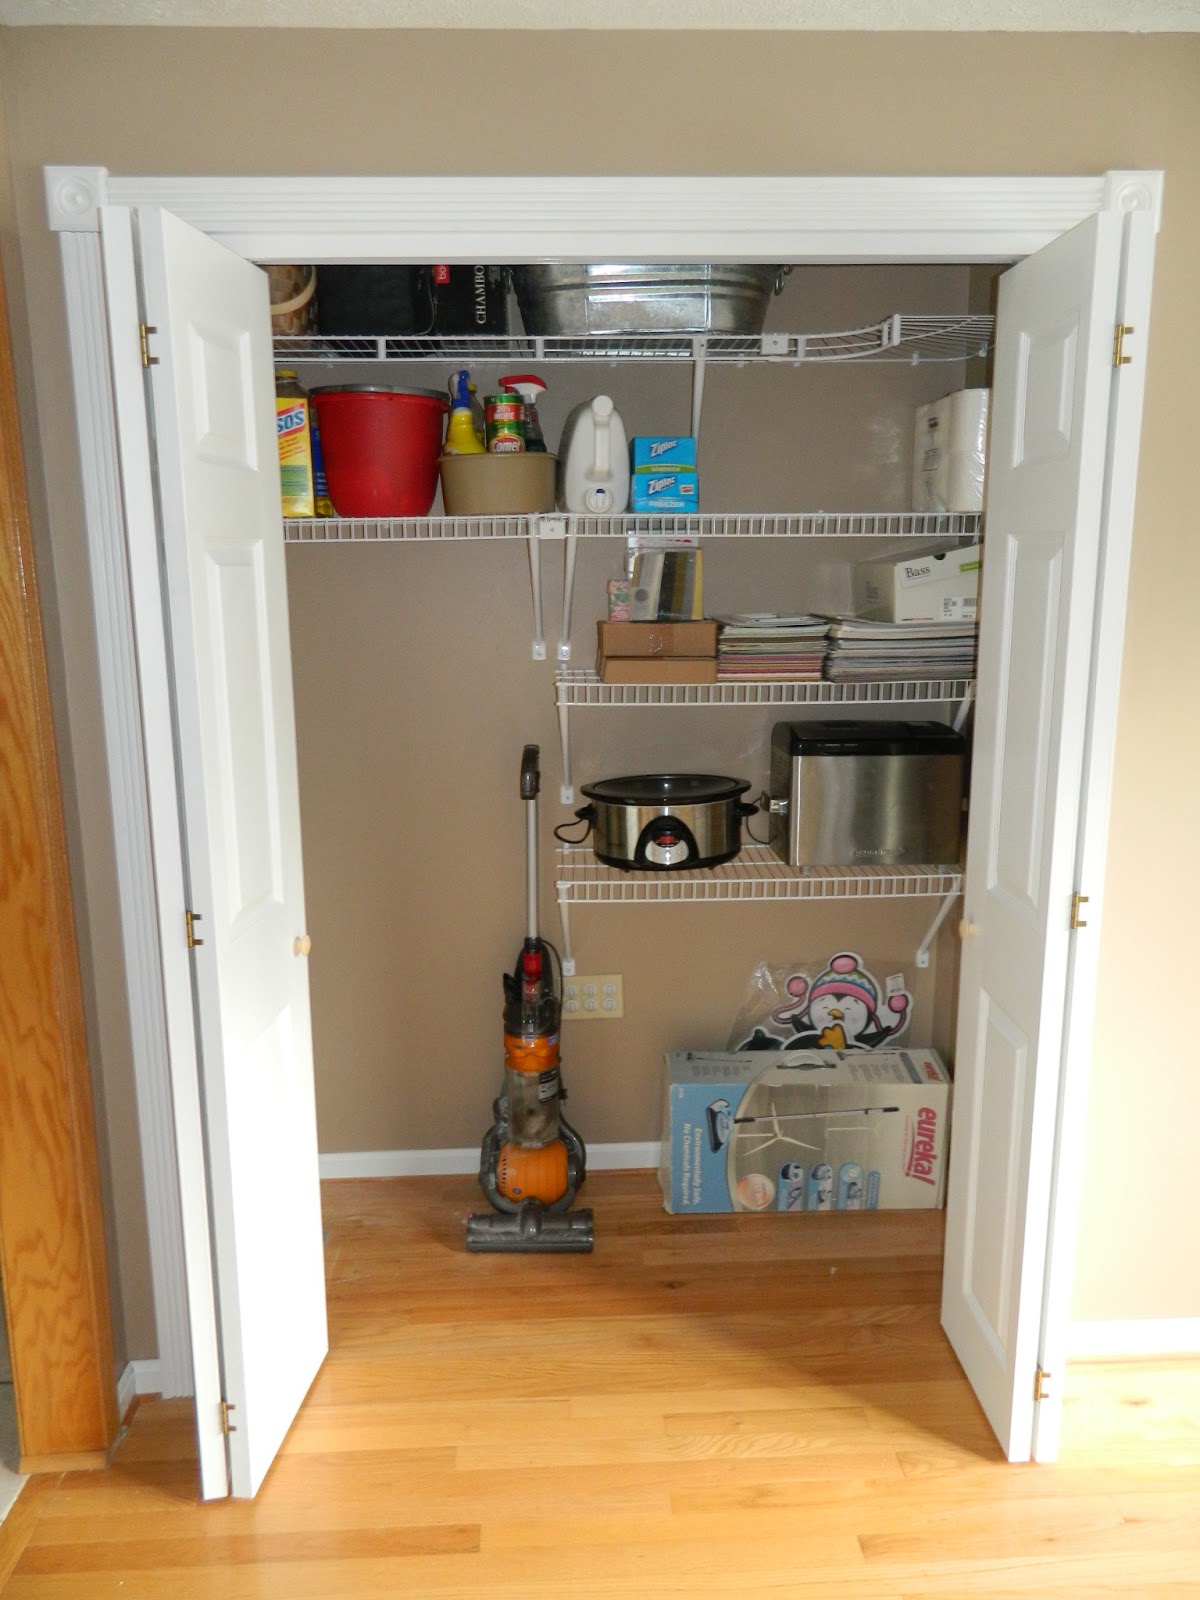
Add in some sliding doors to hide everything (I think I put the door knobs in the wrong place), and the project is just about done.


No comments:
Post a Comment