Saturday, February 16, 2013

Table Saw Drawer


My psychotic organizational side is very pleased with this project.  Simple and short, it nonetheless managed to make my life a whole lot easier and my shop a whole lot more organized.  I got to try out a couple of new things, as well, and in the end I'm pretty happy with how it turned out!

I got the idea from an issue of ShopNotes magazine (#70), a companion publication to my usual favorite Woodsmith.  They had a two-page article on adding a simple drawer underneath one wing of a table saw. I knew as soon as I saw it that this would save me tons of trouble - push sticks, extra blades, wrench, my new stacked dado set, and a whole bunch of other things that normally clutter up the floor next to top of the table table saw would have an out-of-sight but easily accessible place to live!

The project had only three parts: the case, the drawer, and the mounting brackets.


Case
It's pretty simple - a top, bottom, two sides, and a back.  I used three sheets of half inch 2'x2' plywood that my wife spotted in the Home Depot clearance bin for $1.00 each.  I cut the case sides 5" wide (leaving the length at 23 7/8"), and the case bottom and top 10 1/2" wide.  The bottom and top measurements depend on how much space you have between the edge of the table saw and the on/off switch - my measurements are based on a Delta contractor's saw.

Once it was cut to size, I set up my new stacked dado set to cut tongue and dado joints (Google just found me a video demonstrating the process here).  I cut a tongue on both sides of the top/bottom pieces, and matching grooves on the top and bottom of the side pieces.


Glue and clamps put the case together, and I put in a few nails with my brad gun for good measure.


Once the glue has dried, cut a board to just fit in the back and glue/nail it in place.


Drawer
This part was almost as simple: two sides, two ends, and a bottom piece.
Sides: 23 5/16" long, 4" wide
Ends: 9 5/16" long, 4" wide
Bottom: 22 1/2" long, 9 1/2" wide.


Tongue and dado again, cutting dadoes on the bottom of the end pieces and the bottom and sides of the side pieces, and cutting tongues on the sides of the end pieces and all around the bottom piece. 

Assemble the drawer (do a dry fitting with no glue first, and test the result to see if it slides easily into the case).  Once you're happy, go ahead and glue/clamp/nail it.


The drawer is almost done now: my next step was to add a false front to the drawer, a nice-looking face piece that will be the visible part of the drawer.

I had a spare scrap of 1x6 that I cut to match the open width of the case (NOT the drawer). It should be roughly 1/2" larger on every side than the drawer.  I think it ended up being 5"x11" on mine.

Cut it to size, then use the table saw set at a 45 degree angle to cut a chamfer all the way around the facing side of the drawer.


Clamp it in position sticking out 1/2" beyond each edge of the drawer (note the spacers on the side to make sure the distance is right - I put the drawer on top of scrap 1/2" plywood to make sure it was correct), and screw it in place from the inside.


That finishes the drawer, except for one small detail: the handle.  You can use any cabinet or drawer handle for this, but I chose to try making one out of a scrap 2x3 piece just because I could.  I got the idea from another Woodsmith issue (#205), but forgot to take pictures.  Essentially, you set the table saw blade at different heights to create a scooped hollow in the middle of the blank, then smooth down the cuts (I wrapped a piece of sandpaper around the handle of an old foam paintbrush).  I can do a blog post on that if anyone's interested in seeing the details.


Mounting Brackets
Two of the brackets (on the outside edge) are straight, while the other two (on the inside edge) have a short lip on one side.  I wound up using a piece of aluminum angle (2"x2"), and cutting it to size with my table saw using a junky old blade I don't care about and being careful to clean up afterwards.

According to what I've read, the key to cutting aluminum with regular tools is to go slowly, use plenty of eye and ear protection, use a blade you don't care too much about (and clean it afterward) and avoid any chance of kickback.  With that in mind, I set up my table saw carefully.

My first cut was made just to the inside of the angle, 4" deep into the aluminum angle. This gave me the start of the two straight pieces.


Next, I used the fence to mark the 2" line and clamped the aluminum to my miter gauge.


Cut off the two straight pieces, then reposition the aluminum to cut off the two angled pieces.  If you want a smaller lip on these, make sure to slice the aluminum before separating the small pieces from the larger stock.  It's safer to make cuts on a long piece than a short piece.

Use a file to smooth away any burrs or sharp edges.


Once that's done, drill a hole in the top of each piece large enough to fit the bolts holding your table saw's extension wing.  Then drill smaller holes in the bottom of the two straight pieces large enough to fit a single wood screw.

Mount the aluminum pieces on the table saw (straight on the edge, angled on the inside with the angle pointing out towards the other pieces.  Measure the distance between them and cut out two pieces of wood to fit inside, with a kerf on one side wide enough to sit on top of the "ledge" formed by the inside angled pieces. Sorry, I didn't take any pictures of the brackets themselves!

Screw them to the top of the case, leaving enough space on the outside that the aluminum bracket will be flush with the edge of the case.  Once these are mounted, you will be able to set the block on top of the inside (angled) mounting bracket, then screw through the outside (straight) mounting bracket into the side of the mounting block.


The drawer is now ready to mount!  But I decided to make one modification to the design, to see if I could make my life one little bit easier.  My miter gauge is always hanging around on top of the table, and I wanted to set up a way to store it.


Miter Gauge Holder
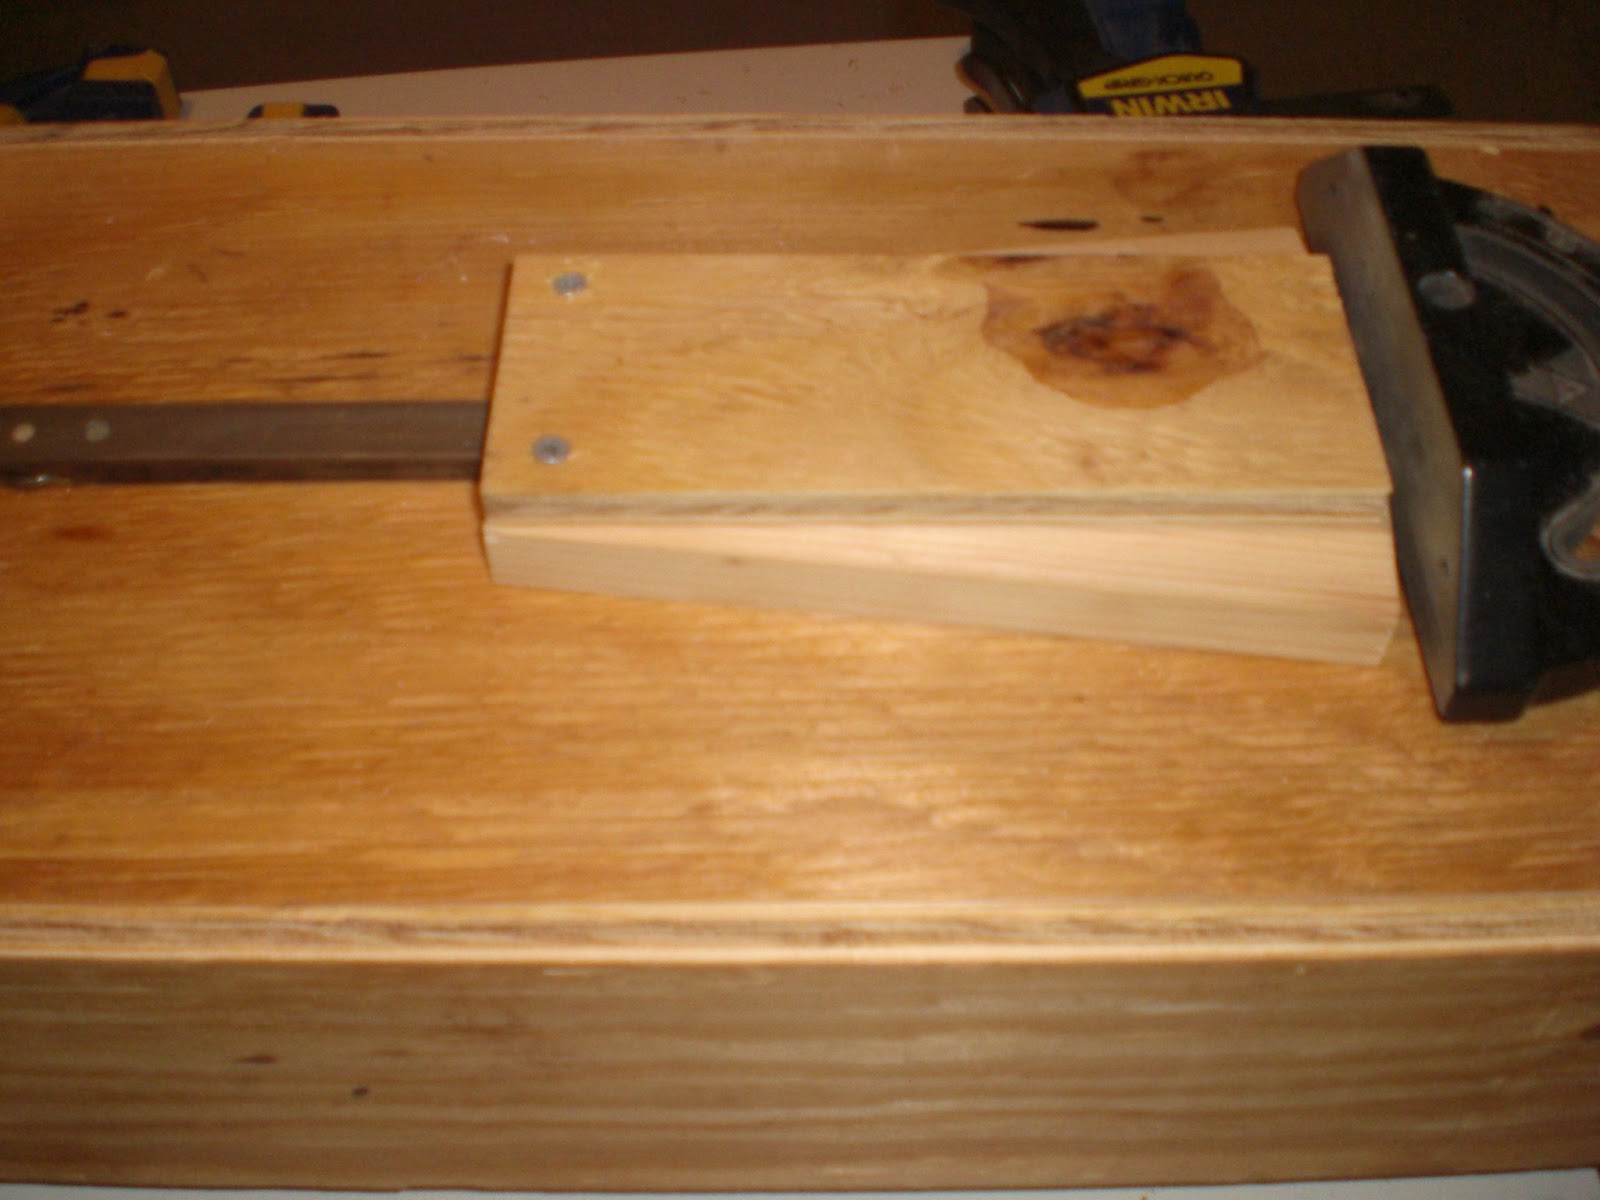
I  cut a long, shallow angle into the sides of two scrap pieces by screwing them onto a piece of plywood and running it along the table saw (you can just barely see the pencil marks on the plywood).


Those got mounted on the underside of the case, just far enough apart to fit the bar of the miter gauge.


NOTE: if your miter gauge has a protrusion on the bottom (to lock it into the miter slot), you'll need to kerf the bottom of the two side pieces so it fits.

Then cut a piece of plywood to fit as a cover over the scraps - this will end up being the bottom of the miter gauge holder.


Done!  Now I can just slide the miter gauge into the holder, and the angles will guide it into place.


Finish
My drawer is ready! Slide the mounting blocks over the angled brackets, use a clamp to hold it and bring it level, then screw the side brackets into the mounting blocks and it is ready for use.


I seriously love this project!  It's already coming in so useful, keeping all sorts of little tools near my table saw but out of my way.


Materials: 
Two and a half sheets of 2'x2' 1/2" plywood.
Eight inches of 2"x2" aluminum angle
Twelve 1 1/4" wood screws
One foot of 1x6 pine
Two feet of scrap 2x4
One pull knob

Cost:
Plywood - 2 1/2 sheets of 2x2 @ $1.00 each - $2.50
Aluminum - 8 inches @ $20.00 per four feet - $3.34
Pine - 12 inches @ $20.00 per ten feet ~$2.00

Adding in scrap, the entire project was less than $10.00 in materials used.  If I'd bought everything at the minimum sold length, it would come in at more like $35.00 - but since that will be used in other projects, I don't worry about it.

Thursday, February 14, 2013

Pallet Preparation


So, after spending time on two major projects using pallet wood (the headboard, and an upcoming post), I think it's worth a mention to describe how I go about getting it ready for usage.

Finding the pallets is easy; check the free section of your local Craigslist, or drive around the back of buildings and places that get regular shipments.  More often than not, somebody is trying to get rid of some extra wood.

 Once you get the pallets home, you need to disassemble them.  You can do this in one of two ways: either extract the nails using a claw hammer, or cut the nail (see below) and remove the head from the wood.  The second option is much faster, but it does have the disadvantage of leaving the center columns full of nail (which pretty much means it's useless for any project requiring a saw, as an upcoming post will demonstrate).


Once you have the boards separated, remove the nail heads from the pieces you want.

Pallet wood, by definition, isn't exactly precise.  More often than not, you have boards that aren't perfectly straight on any side.  For some projects this is fine (it might even add to the rustic look you want).  For other projects, you might want to take the time to make sure you get a nice clean joint with no gaps.

To deal with this problem, I built a straight-line rip jig using plans I found in an old edition of Woodsmith magazine (#149).  The basic idea is pretty simple; start with a piece of plywood for a base (at least three inches wider than the piece you want to straighten) that still has one factory edge.  I chose a 48" length, but you can make it any size.


 Screw a strip of wood (no thicker than your pallet wood) on top of the plywood on the factory-edge side.   Then, attach a pair of horizontal toggle clamps to the top. I found mine at Harbor Freight for about $5.00 each; you can get better ones at Amazon.com for about $10.00


That's basically it!  To use the jig, clamp down the pallet board on top of the plywood piece with at least some of the pallet board hanging over the edge.  Set the fence on your table saw to cut the exact width of your piece of plywood, and the pallet board will be given a completely straight edge on one side.


Once you have that one side square, you can run that edge along the table saw fence to give yourself two straight edges.  After that, you can use a miter saw or chop saw to square the ends of the pallet board.

If you are using boards from multiple pallets (or sometimes even the same one!) you may also need to plane them down to the same width.  I borrowed a portable planer to do the headboard, and loved it!  These are simple to use as long as you keep your fingers well away from anything sharp or pinchy.


And there you have it!  One simple jig and a table saw makes it possible for you to turn rough pallet boards into perfectly aligned and ready-to-go material.  All you need to build it is some scrap lumber and a pair of toggle clamps.


Sources:
Woodsmith magazine
It looks like someone posted the plans online for this jig (#6 in the file) - don't know if this is Woodsmith or not.

Saturday, February 9, 2013

Pallet Headboard & Bed Frame - Part Three


Part Three of a three-part series (Go To Part One, Part Two)

After the notepads and pencils, after the sawdust and screws, after foam brushes and stain; there's a moment of satisfaction when your project is done, everything is put together, and it looks good. 

Unfortunately for me, I wasn't actually there for that moment.  Johanna got to put it together, after I spent a couple of weeks staining and finishing the project.  But I'm still glad it is done, and I think it looks great!

Staining, honestly, is my least favorite part of a project, which is why there are no pictures of the process for me to put up.  All I did was use foam brushes to apply three coats of stain to the headboard, footboard, and rails, then apply three coats of Arm-R-Seal to seal it all off (with some light sanding between all the coats).  Adding to the thrifty nature of the project, the stain was picked up for free at a moving sale - I guess lots of people don't have the time to dispose of these things properly, and so will sometimes happily give them away.  Is it okay to save money on a Christmas present and still be happy about it???

Everything fit onto a little trailer (we probably could have done roof racks, honestly - very satisfying for me, since one of the goals was that it disassemble for easy transport) and was shipped off to Johanna's.  

She assembled the bed up in her room.  First, the headboard leans against the wall (it would fall over forward if left standing straight). 


Next, the rail tenons are fitted into the headboard and footboard mortises, and the project is allowed to stand.  Assemble everything before you try to tighten down the bolts.


Bolts are inserted through the posts into the rails, and a nut inside the rail hollow catches the threads of the bolt. 


The bolt is tightened up with a ratchet - by using square nuts on the inside, I eliminated the need for another wrench to hold the inside nut. 


Once tight, this provides a nice sturdy joint - the mortise and tenon prevent the rail from sagging or twisting, and the bolt prevents it from pulling away from the post.


Drop the slats into the notches on the rails


Add a box spring, mattress, sheets and blankets, and some lovely pillows, and the new bed is ready for use!


If you're interested, the orange pillow is a creation by SH - no sewing machines involved!  She put up a blog post about it a few weeks ago as part of the Christmas present posts :)


And there we have it!  Johanna loves it, and by using recycled materials we not only got to build a visually interesting headboard, but we saved a ton of money on materials by switching to Geico!!!!

Now for a project to finish off all of the scraps of pallet wood lying around my basement .... hmmm .... 


See Part One
See Part Two


Tool List:
Foam Brushes
3/8" socket and driver
Muscles (the headboard is heavy)!

Material List:
~ 1 Quart stain (Minwax Ipswich Pine)
~ 1 Quart General Finishes Arm-R-Seal Urethane Topcoat
4 - 5" 3/8 machine bolts
4 - 6" 3/8 machine bolts
8 - 1" diameter 3/8 washers
8 - 3/8" square nuts


Friday, February 1, 2013

Valentines Decorations


Show some LOVE!

  My house looked so bare after taking down my Christmas decorations, so I began to think about what I could do to brighten it up. I dung into my scrapbook supplies and pulled out any and all red, pink or white paper of all shades, and prints. I had lots of scraps from this and that project - mostly in red (I seem to use a lot of red in my pages.) If you have ever scrapbooked, you know how you end up with random pieces of paper you'll never use - but today I found a good use from them, I made Heart Garland to decorate my mantel with.


  I just cut out a bunch of different sized hearts, matching solid paper with some of the random prints I've had for forever. I used photo tabs to put them together, cut a long piece of jute and clipped the hearts on with clothespins. I got the clothespins at the Dollar Store, so they are a bit smaller then normal clothespins, but they worked awesome for garland.

Valentines Center Piece -

  From the scraps left over from the garland I cut out a bunch of smaller hearts.


  I decided to decorate my hurricane lamp with them!


 Before


After

  Used up my scraps and I got a cute center piece for my farm house table. I just dropped the hearts in the space between the hurrican and the candle, I did use a knife to help place a few.

A Vase Full of Love -


  I filled the vase on my mantle with all the heart shaped cookie cutters I owned. I put a couple of pieces of red tissue paper in the bottem of the vase and placed the cookie cutters in - it turned out pretty cute! The 'LOVE' sign came as a tag on a Christmas gift and made a great addition to the mantle.


Love Banner -


  This idea came from Shaty 2 Chic, they have a printable alphabet banner as well as number and shapes. They had done a "LOVE" banner with a heart as the 'O'. I decided to do a LOVE banner but I wanted it longer then four letters so I printed two hearts and put them on either end. I used different colored scrapbook paper to create my banner - I didn't have enough of any one color, I think it turned out pretty cool!


  Our beautiful farm house table decorated for Valentines Day! Hope you all have a wonderful Valentines Day!