

Back in October, as Samantha and I were discussing the idea of building our own Farmhouse Table, my mother was deciding to use part of her inheritance from my grandfather to buy us a dining room table. The night we decided to tell each other about our plans, new plans were formed, and Mom decided to buy the tools and materials we needed to build the table.
Given that those tools are what have made all of these projects possible, I've wanted ever since to build something for her as a present. Mother's Day seemed like a great opportunity, and the idea came together when my father gave me some leftover scraps from when he built her kitchen. I wound up with some of the countertop tile, and some of the black walnut stock.
Making a trivet seemed like the natural way to combine those two materials. Making two trivets seemed like a great way to try out some woodworking techniques that I hadn't played with tried yet.
Since I didn't know how long it would take to make them, I decided to start with just one. The simplest and cleanest of my many ideas was to edge-glue several pieces together, then use my router to carve out a depression in the center to hold a piece of tile. Going with the size of some of our own trivets (and after calculating how much I could get out of a single piece of black walnut stock), I decided to make my trivets 7" square.
After choosing my piece of wood and making sure it was square and smooth on all four sides, I set up a stop block and cut four equal-sized blocks from the piece.

I spent some time arranging the four blocks so that the grain patterns lined up as nicely as possible on the top, bottom, and ends of the blocks. Once I had the pattern right, I drew a V shape across all four pieces so that I could line them up again instantly.

To get a nice tight fit for the glue, I ran the mating edges of the pieces through my newest machine, an old jointer that my father had in his basement. This paragraph is skipping about three hours worth of work during which I tuned up the jointer and adjusted the height of the infeed and outfeed tables, along with the knives - but the end result was worth it, because after a few passes through the jointer everything fit together with absolutely no gaps. I probably could have saved myself some time by jointing the long piece before cutting it into the four small pieces, but oh well.


A small square kept everything aligned correctly, though I wish that I had clamped it all down to a solid surface to keep it flat and level. It would have saved me some work with a sander later.

I glued and clamped the pieces together two at a time, so only a single glue joint was drying at any one point.

Once the two original joints had dried, I glued the two matching halves together.

The blank needed some sanding here, but nothing too bad. I squared up the blank at the miter saw, using a stop block for the last two cuts to ensure that it was perfectly square.

A small framing square served to prove that all the corners were precise 45 degree angles.

I next wanted to rout out a shallow, square depression in the blank to hold the piece of tile level with the top of the wood. I set the depth of the plunge cut by setting the router on top of a piece of tile, then lowering the bit until it was below the tile.

To define the edges of the square depression, I used the edge guide that came with my router, set to cut a line at the farthest edge of the blank. Right about here I started to wish for a workbench with bench dogs and vises, because clamps and such were not designed to work in this situation. Note how the edge guide is on the side furthest away from where the router is cutting.
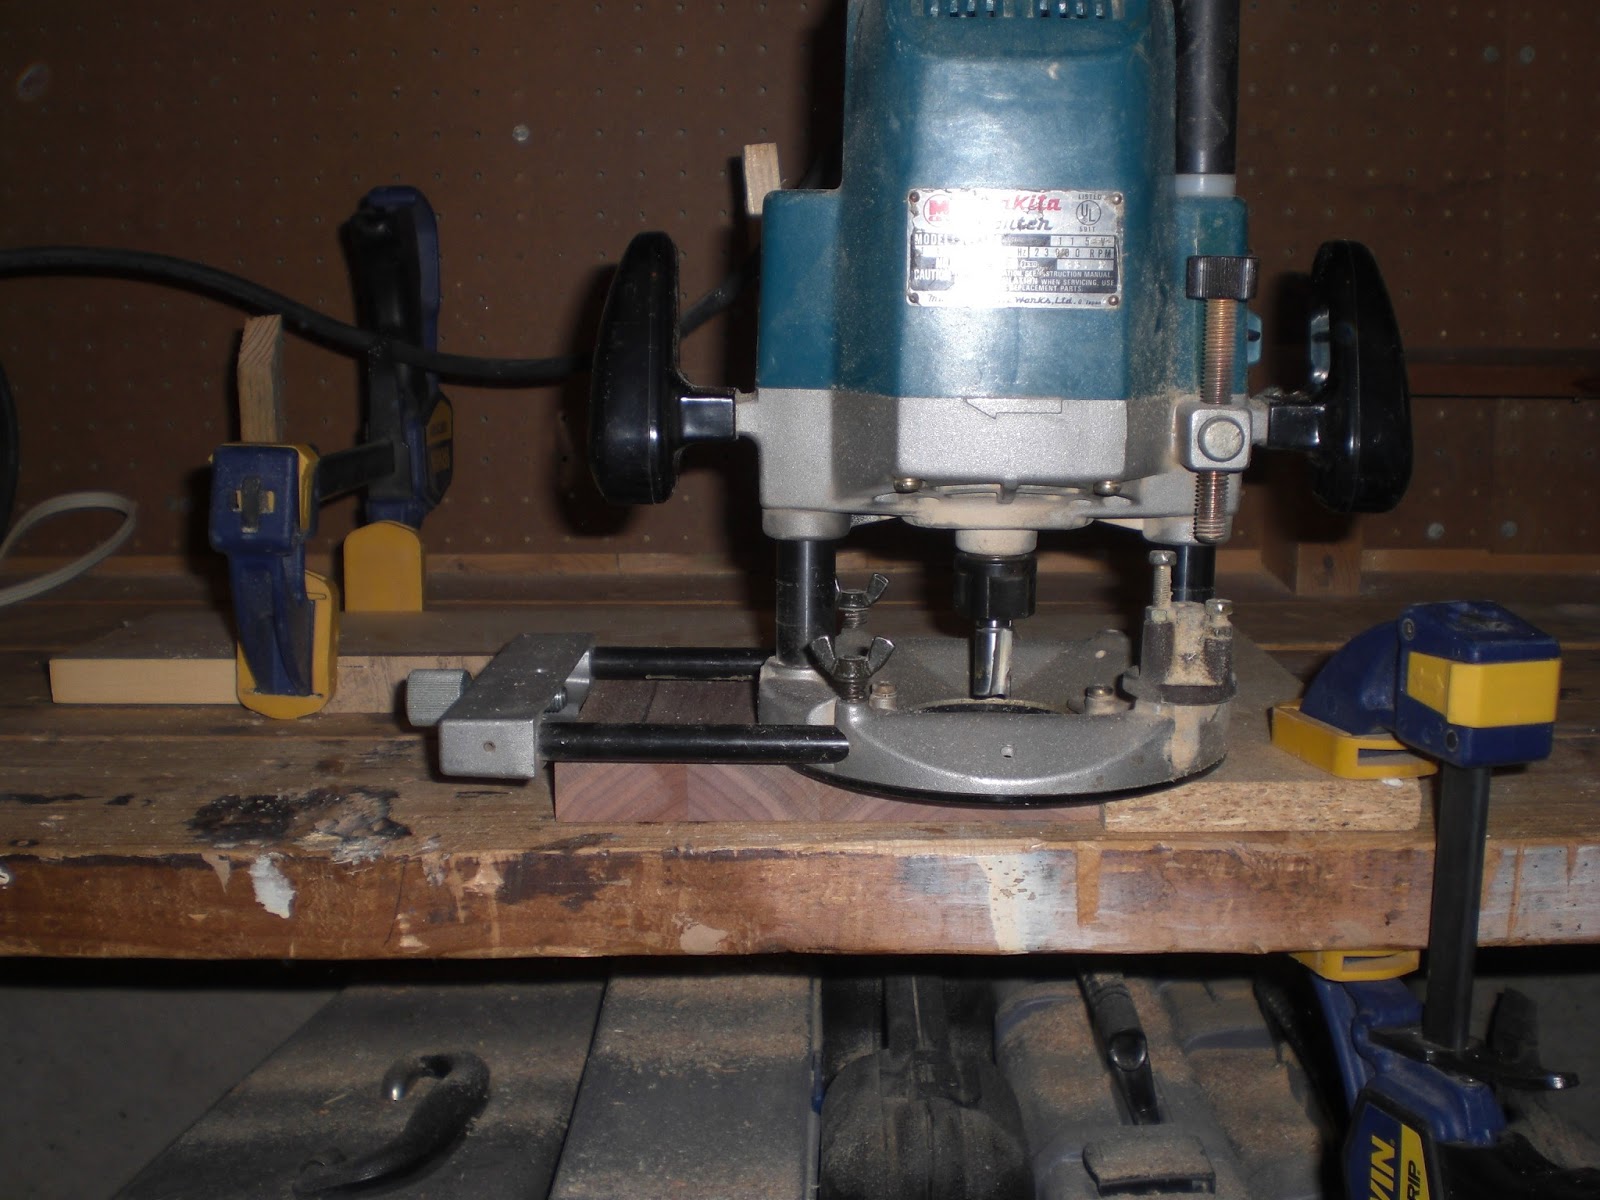
Take the cuts nice and slow, staying away from the corners until you know where they are going. See how the uneven depression in the bottom right of the first picture is in the bottom left of the next? I kept the router's orientation the same, and rotated the workpiece between each cut. Since the block was square, this resulted in an even set of cuts.


Once the edges are defined, hollow out the center with the router, then square up the edges with a chisel.

Now that the wood was cut and ready, I prepared my tile. I found a tile saw at a yard sale last year, and split the purchase price with my father - it goes back and forth between us depending on who is doing projects at the moment. If you don't have a saw, you can find small tiles and just size your trivet to match.


The square tile matched the opening in the workpiece with just a little room left around the edges.

A coat of thin set cements the tile in place.

To keep the tile spacing equal, I found a bunch of finish nails and dropped the ends down between the tile and the edge.

Since I still had a week before Mother's Day, I decided to make a second trivet. The technique I wanted to try for this one was to miter pieces of black walnut to serve as edging, and use a "filler" piece of wood to support the tile.
I cut a piece of black walnut to 15" long, then ripped it into two 1" wide pieces (matching the other trivet's edge).

Next, I cut a piece of pine to a 5.5" square, and cut a rabbet along the bottom edge. I then cut a matching groove in the two walnut pieces.

The tongue on the pine pieces went into the dado on the walnut pieces.

Figuring that a miter saw was, after all, meant to cut miters, I used mine to cut a 45 degree angle onto the ends of the walnut, with the dado on the short side.

This let me start matching the corners with the mitered pieces.

I kept going until I had all four pieces mitered slightly longer than their final length, then used a stop block to trim them all down to exactly the same length. After a dry fit, I applied glue and clamped them up.

I made one major mistake while gluing - see below. I was so focused on gluing the mitered blocks to the center piece that I forgot to apply glue to the miter joints themselves. This led to some separation later on down the road, forcing me to use a brad nailer to pin the corners together and then mix some sawdust and glue to fill in the resulting divots.

For the fun of it, I cut four small square tiles to fill in this trivet, rather than one large square.

This time, I'd sized the tile correctly so I could use proper spacers. I laid a straightedge across the tile to make sure that everything was flush with the top, alternately prying up and tapping down low and high spots.

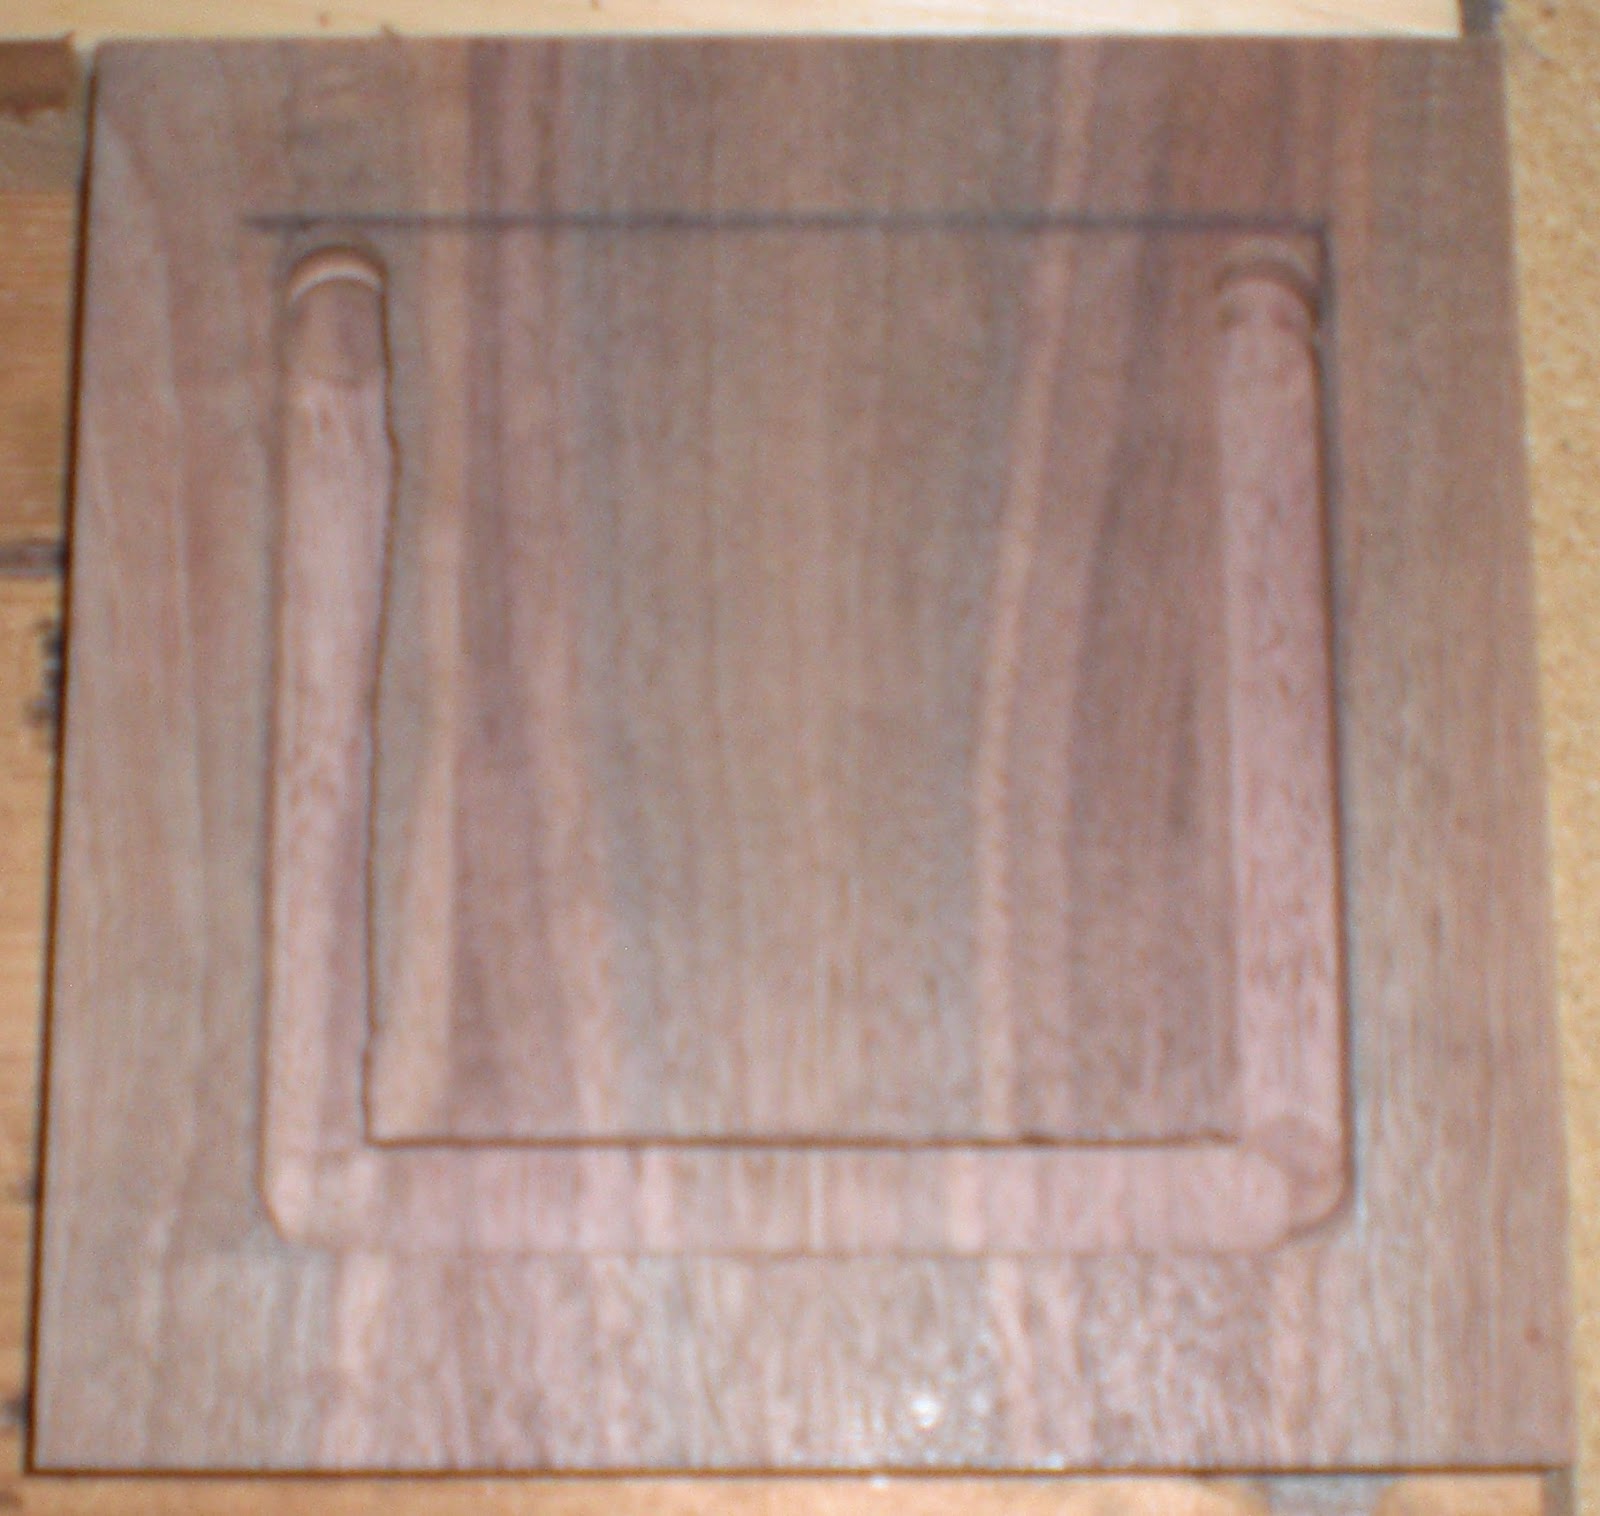
In the spirit of trying out new techniques, I used two of my five router bits to make different profiles on the edges of the two trivets. It was a little thing, but it really did dress up the project quite a lot, and made the edges look much more pleasing. I'm glad I tried it, even though (again) I had to use a bunch of boards and clamps to hold the piece still while I routed.

With tile in both trivets and profiles routed onto the edges, the final step was to fill in the gap between the tiles and the sides. To match the original kitchen, I used a silicone filler; that's the only part that I seriously regret. My silicone came out looking very bumpy and uneven, and was impossible to smooth out. I wish I'd used regular grout, but I guess that's a lesson learned for next time!
For finishing, I used Walnut-tinted Danish Oil. First time using an oil as opposed to a regular stain, and I really liked it. Rather than sitting on the surface and building up coats, the oil just penetrated right into the pores of the wood. I did two coats, but really only needed one.

Like my painter's corners supporting the pieces? Those were part of the shipping packaging of my son's crib, which I saved over a year ago when I threw out the cardboard. I thought, "I'll find a use for these someday" - and now I have! Oh no, no, no ... I'm turning into my father! With these up, I can finish both sides of the project without waiting for them to dry.
The finished product!

.JPG)

.JPG)

.JPG)

Tool List:
Table Saw
Miter Saw
Planer (if your stock needs to be reduced)
Dado Blade
Clamps
Brad Nailer (needed to compensate for my own deficiency)
Jointer (not strictly necessary)
Tile Saw
Router
Flat-bottomed router bit
Profile router bit(s)
Materials List:
3/4 x 2.5 x 30" boards (Black Walnut)
1/2 x 5.5 x 5.5" board (Common Pine)
One tile
Glue
Thinset
Grout or silicone
Danish Oil
Brad Nails
Minwax Special Walnut stain (so the pine on the bottom of #2 would roughly match the walnut)
No comments:
Post a Comment