

This is one of my Christmas projects - I made a half dozen letter openers for various family members. The project couldn't be more simple, and I'm very satisfied with the results. Each piece is unique, and it was a great way to use up some of the small scraps I'd squirreled away from other projects!
Because I got the plans from a magazine, I'm not posting measurements here, but I'll walk you through the steps.
Start by cutting three pieces: one long piece for the knife blade, and two identically sized short pieces for the handle. I used contrasting woods (maple and black walnut) for my letter openers, but you can do whatever you want.

Glue the two short pieces to the back edge of the blade. If there are any marks or imperfections you don't want showing on the blade, now is the time to hide them behind the handle. Sanding later will remove most of the surface material, but it might pay off to give some thought to the grain patterns on the handle or blade now.

Glue and clamp them together and let the glue cure for a good long while. I left these overnight.
 |
| I am a geek, so I thought of this when I saw this picture. |
Once the glue has cured, you're almost done.
 |
| Even though we've already established that I'm a geek, I'll prove it again. |

Blades facing up so you can see the shape of the handle meeting the blade.
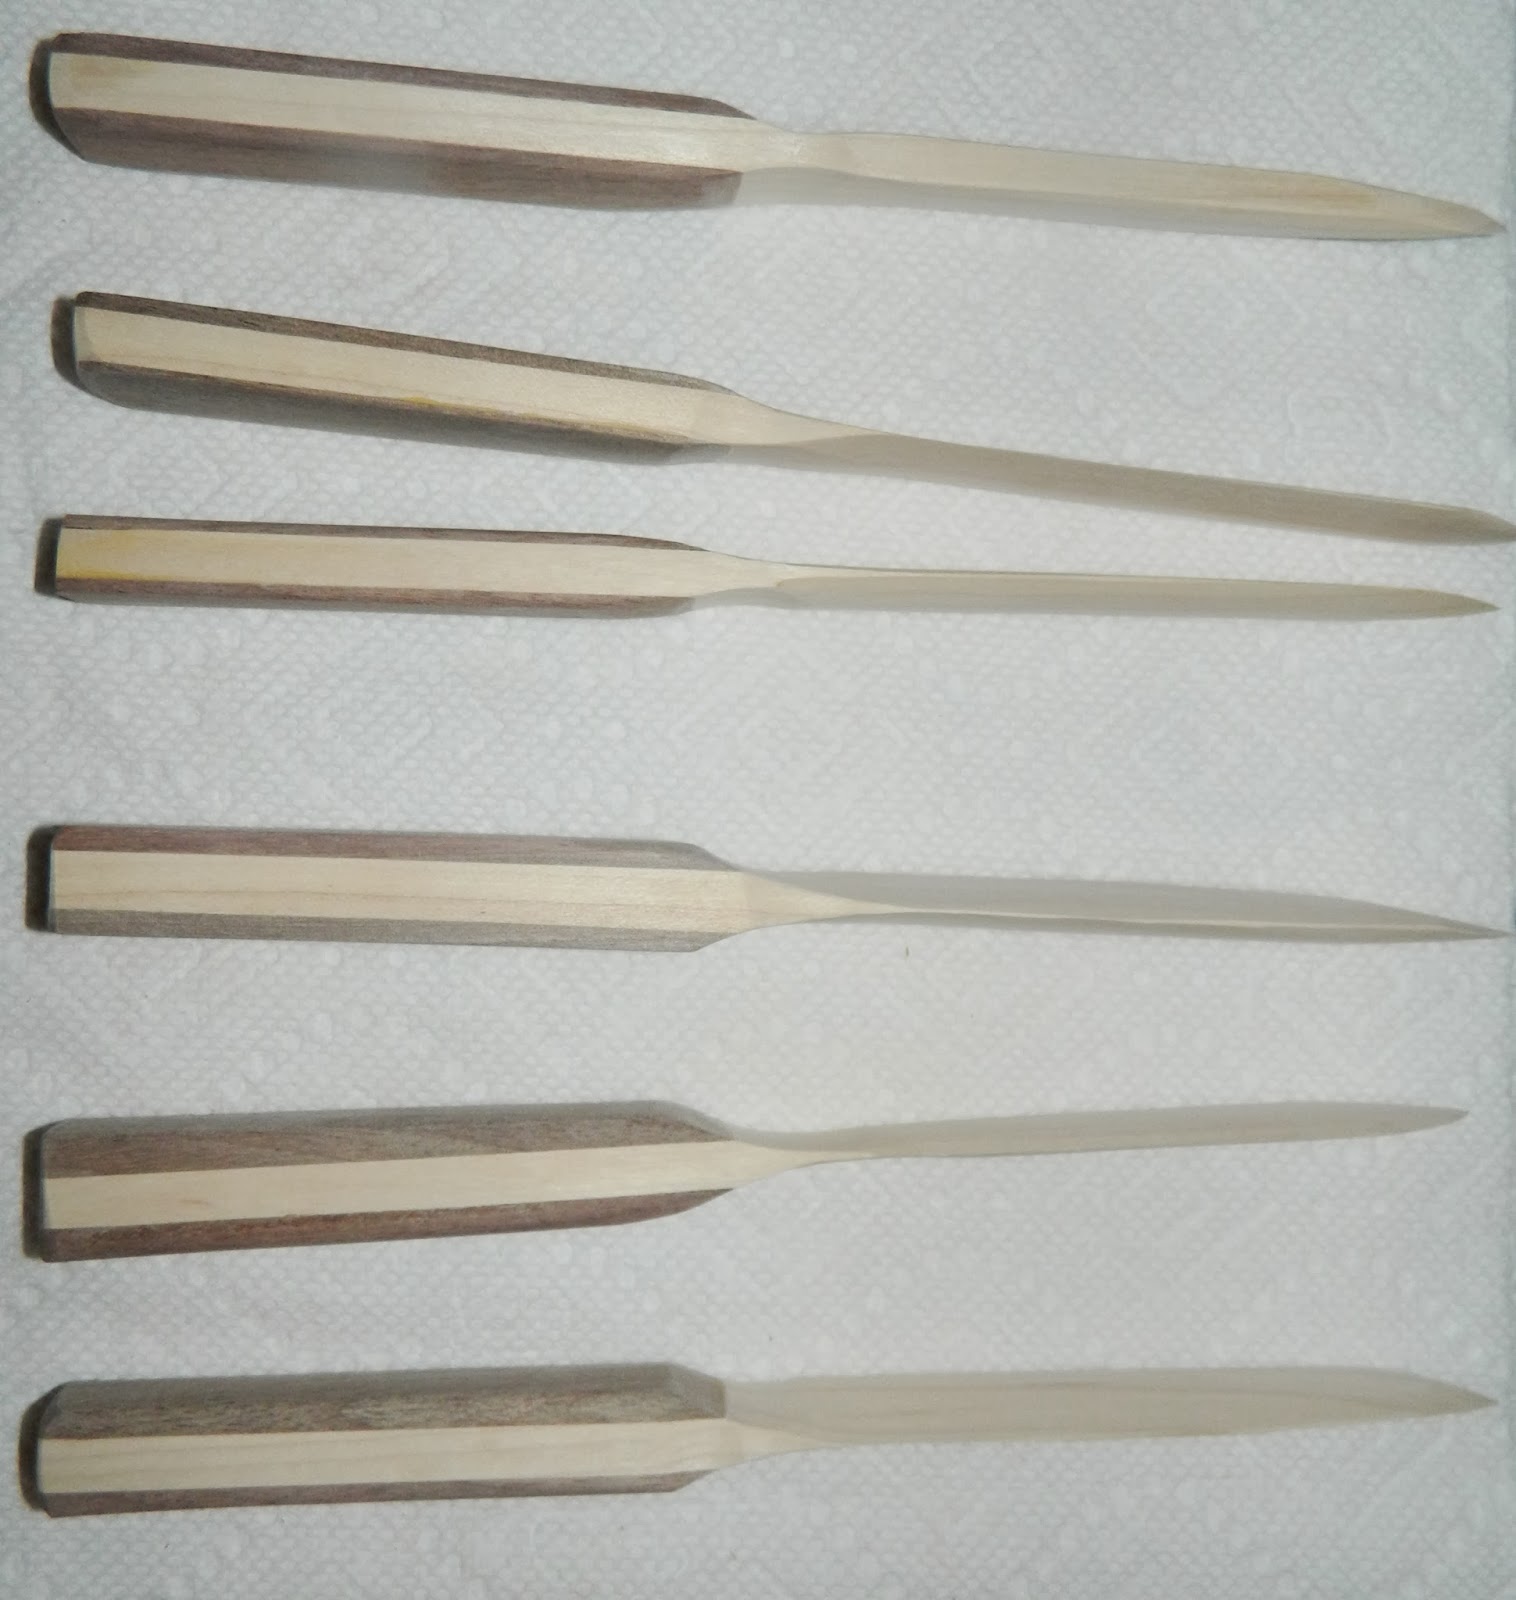
This should give you some idea of the sizes involved:


Yes, those are paper towels. My shop is in disarray during a remodeling project, so my table saw is my only available work surface and I'm trying to protect it.
All that's left is to add stain: I used Minwax Natural stain, which is pretty much just deepens the color that is already there. In the picture below, only the bottom knife has been stained: that should give you a good idea of what it looks like before and after.

I did a single coat of stain on each side of the knife, then a very thin coat of polyurethane.
How on earth do you take photos of a letter opener? No idea. Hope these do it justice :)


Overall, a pretty simple project: great way to use up some little pieces of scrap wood if you neurotically save them like I do.
Materials Needed:
1 - long blade piece (hardwood, tight grain: maple worked for me)
2 - short handle pieces (figured wood, nice if it contrasts)
Glue
Tools Needed:
Table Saw (to rip the thin pieces)
Stationary Sander (could carve)
Clamps
No comments:
Post a Comment