One of the shop-improvement projects I've been wanting to do for a long time has been to build a router table. My plunge router has proven itself enormously useful on a bunch of projects. When I did the trivets a couple of months ago, it was hard to balance and position the router properly, and I knew building a table would be the next logical step in expanding my shop's capabilities. I love reading the Woodsmith and ShopNotes magazines, and have seen both put out a number of plans for router tables. After comparing a bunch of different plans (I really wanted to do the plan from ShopNotes #100 for a while, but sanity prevailed), I decided on the plan from ShopNotes #78 - with a few modifications.

This table won out because of the cost (the whole table is built from plywood) and simplicity. Going from no router table to an everything-but-the-kitchen-sink version didn't make sense - better to build a simple one and decide later if it's worth upgrading or not.
The only really major expense for this table, other than the plywood, was finding an insert plate. After trawling Craigslist, I was able to find a Kreg insert plate with a Rockler router lift for $80, and the guy threw in a 48" length of T-track for an extra $10.
I made two major modifications to the magazine's plans - I expanded the width of the router table's top to match the length of T-track, and I added a drawer to the bottom. The drawer will hold my router bits (for now) and the various bases, manuals, and other paraphernalia that goes along with my routers. Because I played with the sizing, I couldn't follow the cut list (which would have used a single sheet of 3/4" plywood). I had some scraps of plywood in the basement courtesy of a moving sale, so I only had to purchase a single sheet, but you'd definitely need two sheets to recreate this.
To start, I spent over an hour laying out my various pieces and figuring out how to get the most out of each scrap of plywood. Then I started cutting things down, keeping everything just a little bit bigger than it needed to be. I used my circular saw and straight-edge clamp to cut down the full sheet into manageable sizes, then trimmed those pieces (and the ones from my scraps) to exact size with the table saw.


The first piece I assembled was the interior case - a bottom, two sides, and a brace spanning the center.

Everything here is assembled with butt joints and 1 1/4" screws, with pilot holes drilled first so the screws don't split the plywood. This cage is going to be supporting the router table's top. Note that the brace is set behind the centerline - it needs to be far enough back that it doesn't interfere with the router plate.
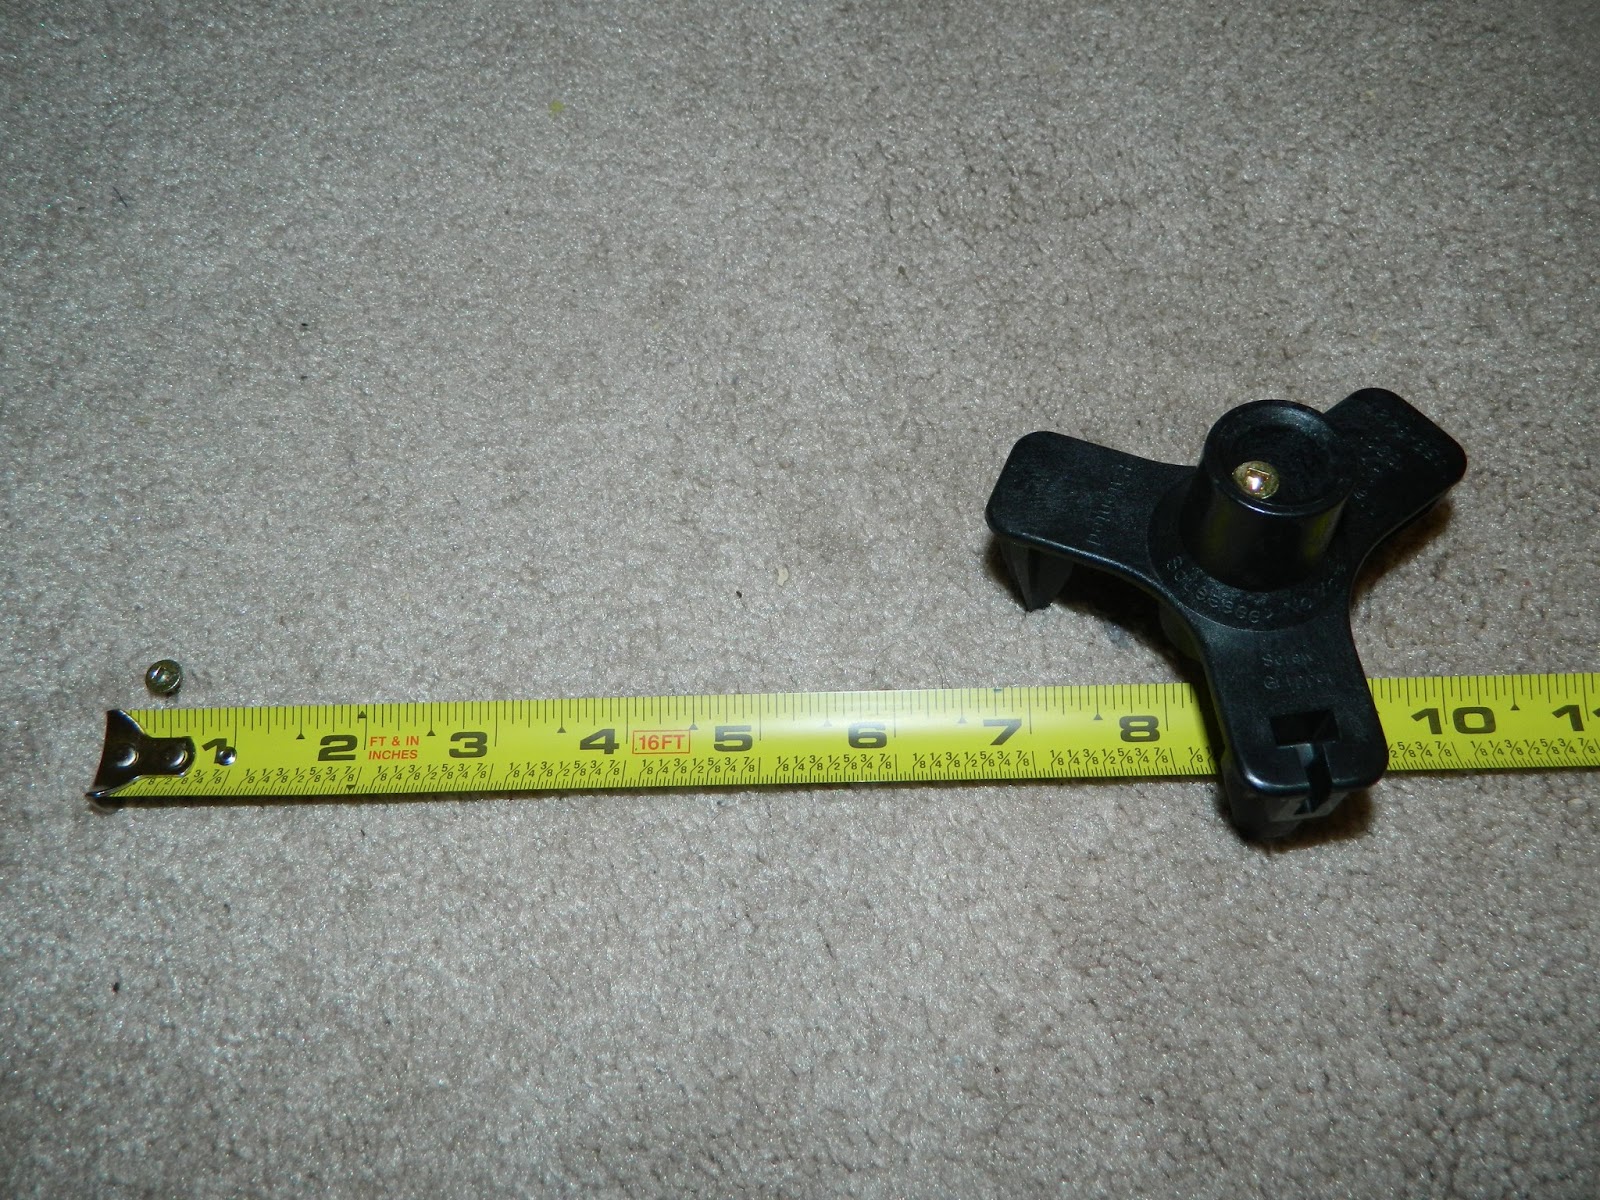
Next, I added the two side panels. These had a little cutout at the bottom to form "feet" - I clamped them together and cut them both at once. I used an extremely high-tech and expensive gadget to mark the arcs I wanted for the feet, with I wanted to be 3" wide and about 3" high.
Position the side and edge of the arc ...

... position the advanced radius-marking template ...

... mark the line ...

... set a straight-edge to determine the top of the cutout, and cut the lines with a jigsaw.

Here's the table on it's side, dry-fitted so I could get the measurement of the next piece - note that the table top is also in place, to keep the top edge of the interior case aligned with the top edge of the side panel.

To give a little more stability to the skeleton, four small legs are screwed to the inside face of the side panels, offering some extra support to the interior case. A second cross brace is also added at the back of the frame, underneath the interior case. Note that I attached the small legs before the side panels - this is so that I can screw the rear legs directly into the brace, then attach the side panels to them in turn. First, attach the brace (driving screws down through the bottom of the case), then attach the rear legs to the brace.
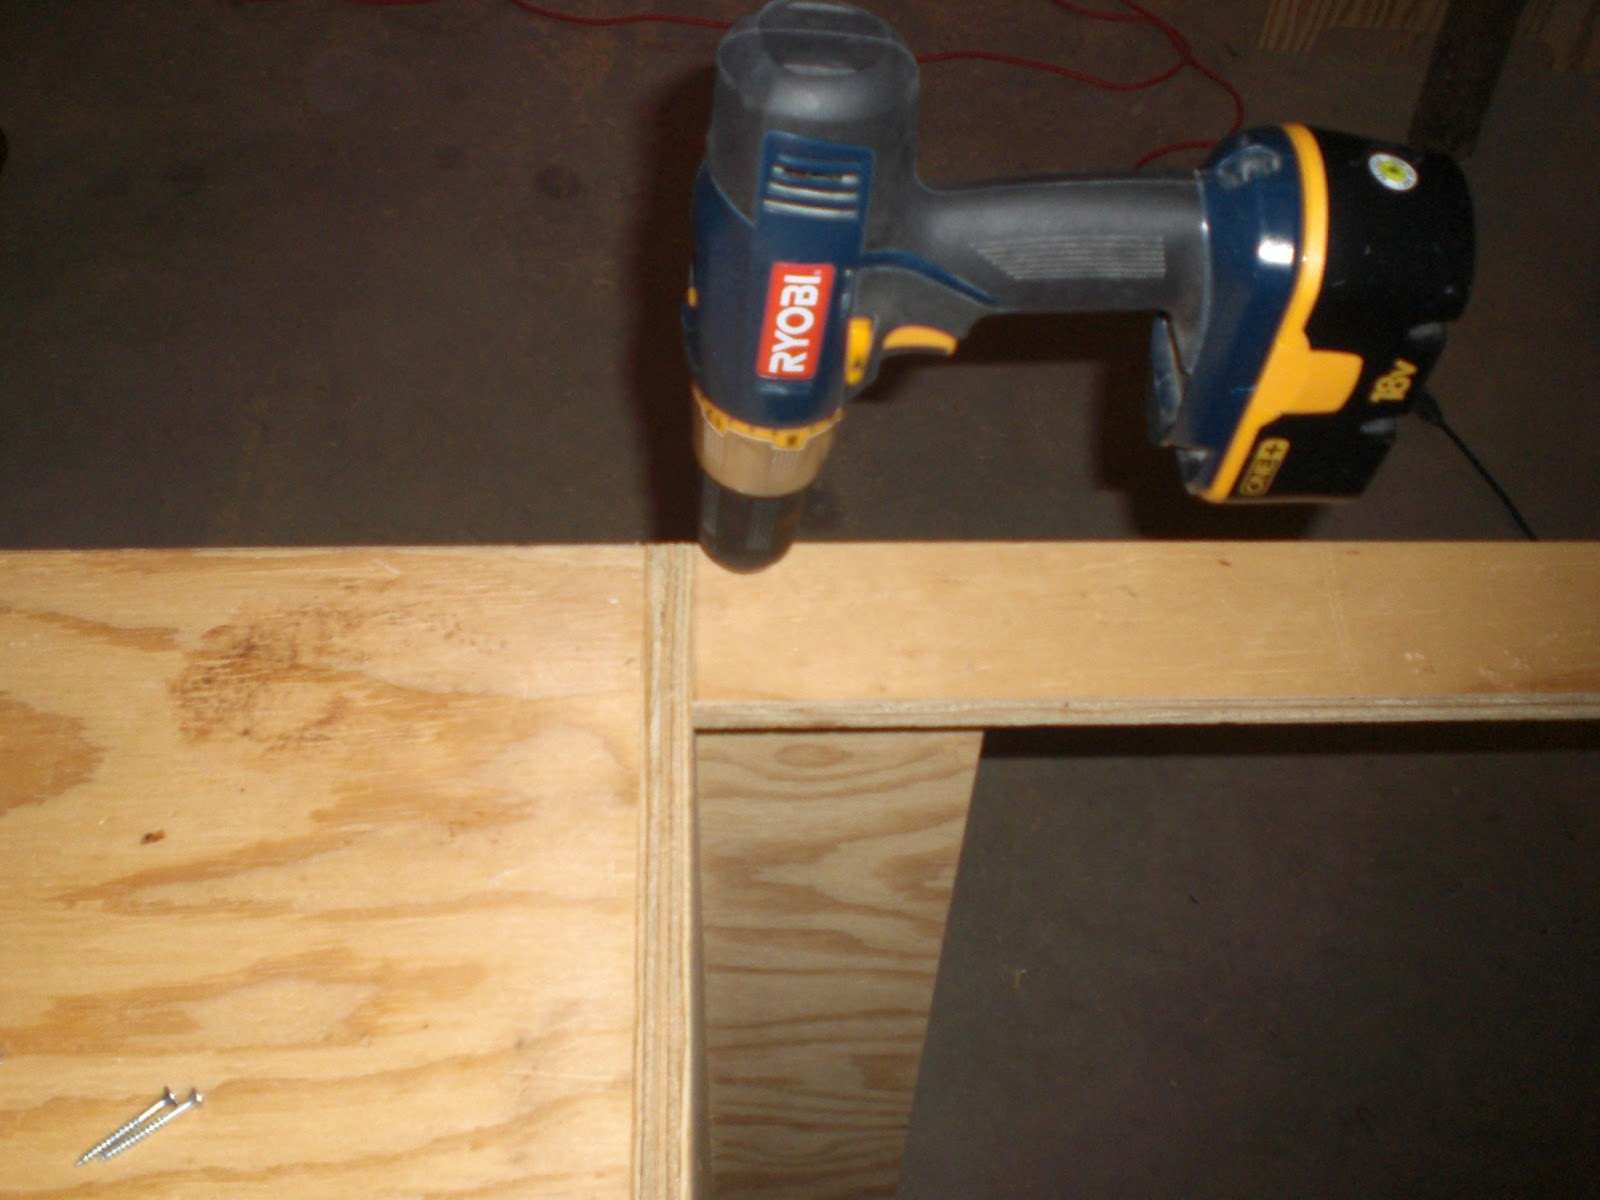

Then, attach the side panels to the skeleton, driving screws through the outside sheet into the case. Once the side panels are on, you can attach the front legs - I fastened all the legs to the side panel from the inside.


With most of the table's case done, I turned my attention to working on the drawer, taking the basic design from another plan in the same issue. I wanted the drawer to be nice and big, with enough space to store all of the router's extra bases and other accessories, including bits. That meant, after some measuring, that I needed at least 8".

After I'd cut the pieces to size, I set up the drawer joinery. There's not a lot to be said here - I cut 1/2" deep rabbets into the front and back of the drawer (see above), and a 1/4" groove 1/4" up from the bottom edge of all four pieces to grab the drawer bottom. Then I carved a slice from the bottom edge of the drawer bottom, leaving a 1/4" lip to slide into the drawer edge's groove. Yes, I need to make an auxiliary fence for the table saw.

Clamps, glue, and screws took care of the assembly process.

I planned the design so the drawer would sit underneath the bottom of the interior case, protected from the dust the router would cause. I needed to add some sort of web frame to support the drawer itself, so I ripped down scrap 2x4s into 1" thick sections, then cut them to make a frame.

Some pocket holes drilled with my Kreg Jig took care of joinery here.


Clamps, glue, and screws took care of the assembly process.

I planned the design so the drawer would sit underneath the bottom of the interior case, protected from the dust the router would cause. I needed to add some sort of web frame to support the drawer itself, so I ripped down scrap 2x4s into 1" thick sections, then cut them to make a frame.

Some pocket holes drilled with my Kreg Jig took care of joinery here.

I forgot to take a picture, but there's an extra pocket hole at each corner facing outward - once I had it in place, these let me screw the frame directly into the sides of the router table.


Some extensive work with a hand plane and palm sander left the top surface of the web frame very smooth, so the drawer wouldn't catch on anything. While I was at it, I also sanded and smoothed the bottom and sides of the drawer. To prevent the drawer from skewing sideways and binding when being opened or closed, I glued two thinned-down pieces of plywood into the gap between the front and back legs.


The only detail left for the router table's base was to attach handles (leftovers from a kitchen project that Samantha's grandfather had done) to the drawer and a pair of blocks to the back to prevent the drawer from sliding in too far. I'd intentionally left the drawer a little shorter than the available space. I cut the blocks to size, then screwed them into the table's rear leg.


The project is reaching the home stretch! I laid out the template that came with the insert plate in the center of the table, then used my jig saw to cut out a rough square half an inch inside the line. Then I used a top-bearing flush trim bit in my plunge router base to cut out a shallow lip on the edge of the hole. While a little nerve-wracking, this part wasn't too hard - just remember to leave plenty of clearance when you cut out the hole so the router plate has a good solid edge to sit on. Cut the lip a shade deeper than the insert plate - most plates have set screws to let you fine-tune the adjustment.


Next, I cut out two long notches near the back on the side of the router table (make sure your notches are outside the overhang of the table top). These notches will allow the fence to slide back and forth. I drilled a 5/16 hole at each end of the notch, then used my jigsaw and straight-edge clamp to remove the waste in between.


Unfortunately, I don't have any pictures of building the fence, so I'll have to describe it to you. Hope this makes sense! The fence is built up of several layers of plywood. The top two layers are 48" long strips of plywood - the top layer is 1/2" thinner than the next one down, to leave space for the T-track. The bottom layers are 23" lengths of plywood, positioned to leave a 2" gap centered on the router bit, to allow the fence to come up and surround a bit for profile work.
All the layers but the top and bottom are 2" wide - as previously mentioned, the top layer is smaller to allow the T-track to sit flush with the edge. The bottom layer is wider (4"?), to provide extra stability and a place to tighten the fence down. A 5/16 hole is drilled on the outside ends of these outer pieces (drill a slot on one end to allow the fence to move freely), positioned over the slots you just cut in the table top. One mistake I made here - I drilled the hole too close to the fence, and had to carve out some space in the back to allow the knob to turn freely.
A wing knob, 2.5" 5/16 carriage bolt, and a pinch block serve as the holding mechanism for the fence. Loosen the knobs, and the fence will slide back and forth. Tighten them, and it will clamp into place. Cut the pinch block long enough to be flush with the table's outside edge on one end, and close to the base on the other end.
Some of the more observant might notice that the bottom three pieces are 1/2" plywood, while the top two are 3/4" - this is because I ran out of 3/4" plywood and used my advanced math skills to realize that 0.5 + 0.5 + 0.5 = 0.75 + 0.75, which is what the plans originally called for.

All the layers but the top and bottom are 2" wide - as previously mentioned, the top layer is smaller to allow the T-track to sit flush with the edge. The bottom layer is wider (4"?), to provide extra stability and a place to tighten the fence down. A 5/16 hole is drilled on the outside ends of these outer pieces (drill a slot on one end to allow the fence to move freely), positioned over the slots you just cut in the table top. One mistake I made here - I drilled the hole too close to the fence, and had to carve out some space in the back to allow the knob to turn freely.
A wing knob, 2.5" 5/16 carriage bolt, and a pinch block serve as the holding mechanism for the fence. Loosen the knobs, and the fence will slide back and forth. Tighten them, and it will clamp into place. Cut the pinch block long enough to be flush with the table's outside edge on one end, and close to the base on the other end.
Some of the more observant might notice that the bottom three pieces are 1/2" plywood, while the top two are 3/4" - this is because I ran out of 3/4" plywood and used my advanced math skills to realize that 0.5 + 0.5 + 0.5 = 0.75 + 0.75, which is what the plans originally called for.

Last step to document is attaching the table top to the table base. The top overhangs the base on both sides and the front, but is flush against the back. Once I positioned and clamped it, I used some right-angle brackets picked up at a nearly-forgotten yard sale to attach the top.


Four of these at the corners do an okay job of holding it (I added more screws after taking the picture). I'm not thrilled with the brackets - they flex too much when you lift the router table, but they serve their purpose when the table is sitting still. I might replace these with something else if it gets to be a problem.
That's it!


That's it!


I have a couple of things I'd like to add - some kind of rack to hold all the bits would be great to have, as would an electrical switch to turn the router on and off and some hooks to hold the adjustment wrenches. There's no dust collection on this table, and probably never will be. But I think it's going to do an admirable job for what I need - some nice storage in the drawer, an expansive top, an adjustable fence with T-track for attaching accessories, and a simple, cost-saving design.
Tool List:
Table Saw
Jig Saw
Circular Saw
Router
Top-bearing pattern bit
Straight-edge clamp
Sander
Kreg Jig
Drill
Dado Blade
5/16 drill bit
Sawhorses
Materials List:
~1.5 - 4x8 sheet of 3/4" plywood
1 - 36" length of 2x4
2 - drawer handles
4 - right-angle brackets
~50 - 1 1/4" woodscrews
1 - Router Plate Insert (w/ lift is great)
1 - 48" T-track
2 - 2.5" 5/16 carriage bolts
2 - 5/16 wing knobs
Glue
Cut List:
Because I built this using plans I adapted from ShopNotes, I'm not going to post the dimensions. If you're really interested, feel free to leave a comment and I can message you the sizes for everything. I'd encourage you to get the plans, too - you can usually find back issues on eBay.
Cost:
Plywood, screws, brackets, and such probably cost me around $50. The router plate and T-track came in at close to $100. I had to purchase a router (my old one didn't fit the router lift), but I'm not counting that as a cost since I'll be reselling the old one.
Tool List:
Table Saw
Jig Saw
Circular Saw
Router
Top-bearing pattern bit
Straight-edge clamp
Sander
Kreg Jig
Drill
Dado Blade
5/16 drill bit
Sawhorses
Materials List:
~1.5 - 4x8 sheet of 3/4" plywood
1 - 36" length of 2x4
2 - drawer handles
4 - right-angle brackets
~50 - 1 1/4" woodscrews
1 - Router Plate Insert (w/ lift is great)
1 - 48" T-track
2 - 2.5" 5/16 carriage bolts
2 - 5/16 wing knobs
Glue
Cut List:
Because I built this using plans I adapted from ShopNotes, I'm not going to post the dimensions. If you're really interested, feel free to leave a comment and I can message you the sizes for everything. I'd encourage you to get the plans, too - you can usually find back issues on eBay.
Cost:
Plywood, screws, brackets, and such probably cost me around $50. The router plate and T-track came in at close to $100. I had to purchase a router (my old one didn't fit the router lift), but I'm not counting that as a cost since I'll be reselling the old one.