

After the notepads and pencils, after the sawdust and screws, after foam brushes and stain; there's a moment of satisfaction when your project is done, everything is put together, and it looks good.
Unfortunately for me, I wasn't actually there for that moment. Johanna got to put it together, after I spent a couple of weeks staining and finishing the project. But I'm still glad it is done, and I think it looks great!
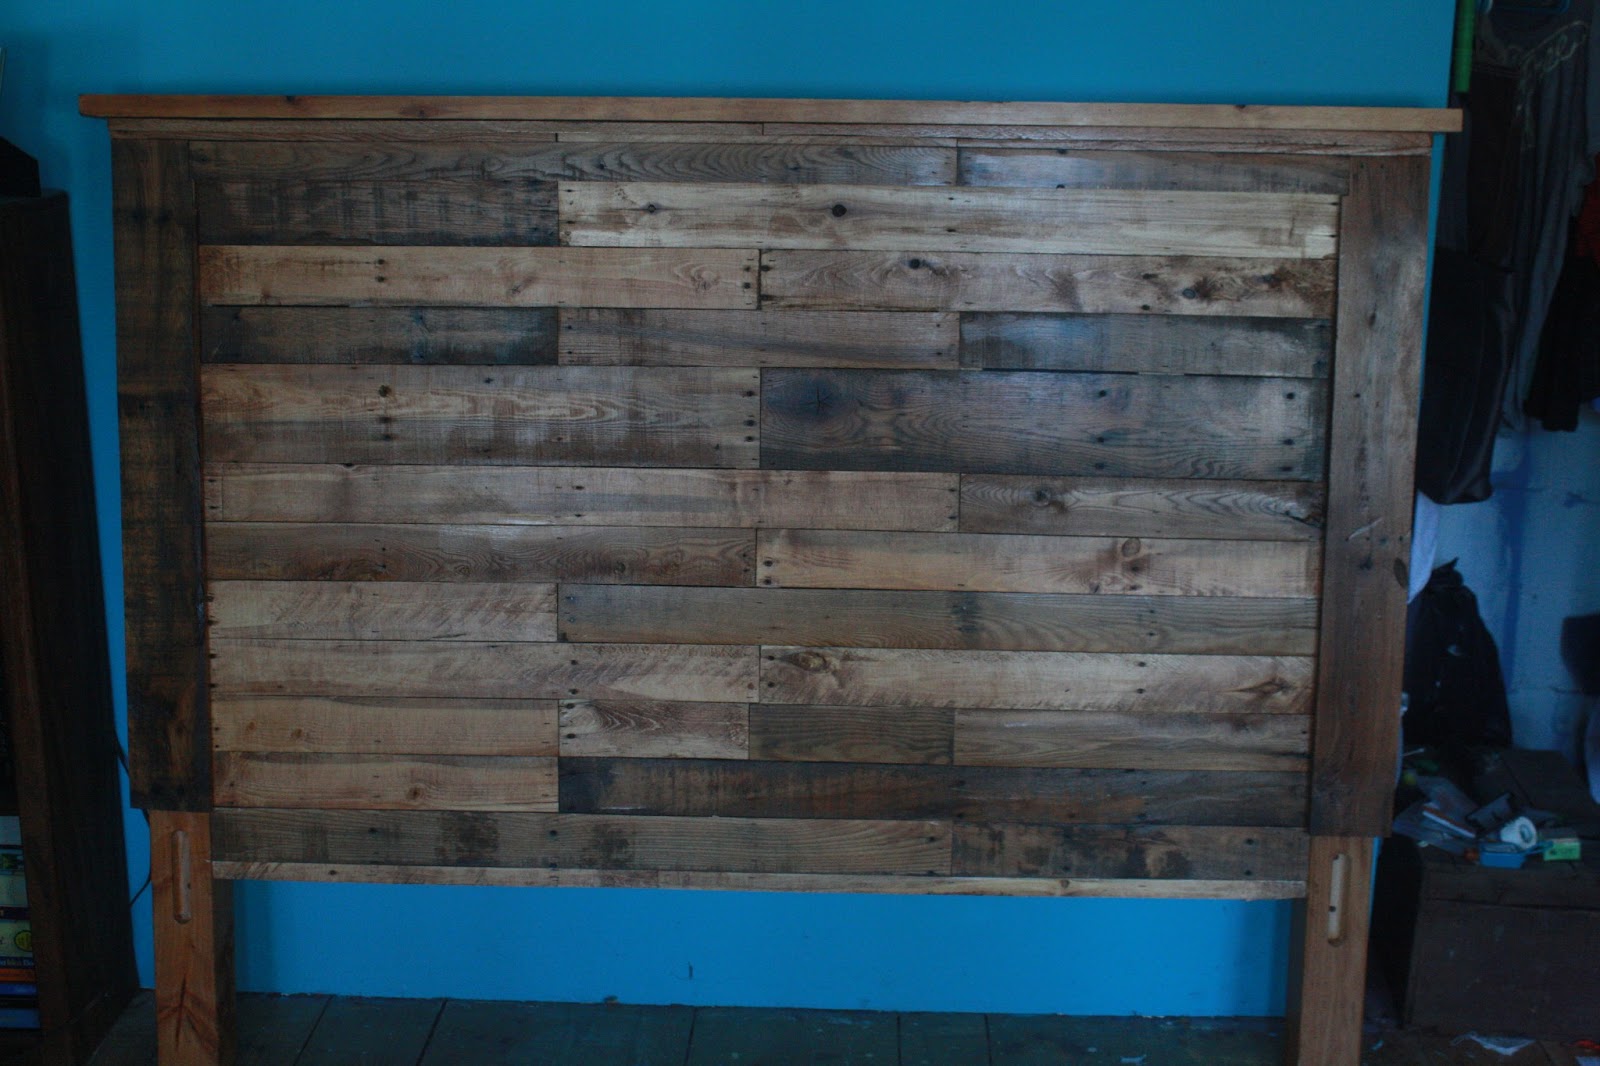
Staining, honestly, is my least favorite part of a project, which is why there are no pictures of the process for me to put up. All I did was use foam brushes to apply three coats of stain to the headboard, footboard, and rails, then apply three coats of Arm-R-Seal to seal it all off (with some light sanding between all the coats). Adding to the thrifty nature of the project, the stain was picked up for free at a moving sale - I guess lots of people don't have the time to dispose of these things properly, and so will sometimes happily give them away. Is it okay to save money on a Christmas present and still be happy about it???
Everything fit onto a little trailer (we probably could have done roof racks, honestly - very satisfying for me, since one of the goals was that it disassemble for easy transport) and was shipped off to Johanna's.
She assembled the bed up in her room. First, the headboard leans against the wall (it would fall over forward if left standing straight).
Next, the rail tenons are fitted into the headboard and footboard mortises, and the project is allowed to stand. Assemble everything before you try to tighten down the bolts.

Bolts are inserted through the posts into the rails, and a nut inside the rail hollow catches the threads of the bolt.

The bolt is tightened up with a ratchet - by using square nuts on the inside, I eliminated the need for another wrench to hold the inside nut.

Once tight, this provides a nice sturdy joint - the mortise and tenon prevent the rail from sagging or twisting, and the bolt prevents it from pulling away from the post.

Drop the slats into the notches on the rails

Add a box spring, mattress, sheets and blankets, and some lovely pillows, and the new bed is ready for use!


If you're interested, the orange pillow is a creation by SH - no sewing machines involved! She put up a blog post about it a few weeks ago as part of the Christmas present posts :)


And there we have it! Johanna loves it, and by using recycled materials we not only got to build a visually interesting headboard, but we saved a ton of money on materials by switching to Geico!!!!
Now for a project to finish off all of the scraps of pallet wood lying around my basement .... hmmm ....
See Part Two
Tool List:
Foam Brushes
3/8" socket and driver
Muscles (the headboard is heavy)!
Material List:
~ 1 Quart stain (Minwax Ipswich Pine)
~ 1 Quart General Finishes Arm-R-Seal Urethane Topcoat
4 - 5" 3/8 machine bolts
8 - 1" diameter 3/8 washers
8 - 3/8" square nuts
Here is an idea for those left over pallet board... I saw someone make vegetable stakes for their garden...labels of different vegs. on each board. I thought it was a cool Idea!
ReplyDeleteLove the bed....you did a great job!
I gotta favorite this website it seems very helpful .
ReplyDeleteMattress Roswell GA
Nice post. I was checking constantly this blog and I’m impressed! Extremely useful info specially the last part I care for such information a lot. I was seeking this certain info for a long time. Thank you and good luck. connect headboard to wall
ReplyDelete